
Send timesheets to WageEasy
Turn on WageEasy, add each employee's Time Card No, then download a timecard file of approved timesheets each pay period and import it into WageEasy.
WageEasy doesn't connect to Shiftly directly. Instead, Shiftly turns your approved timesheets into a WageEasy timecard file (a .wtc file), and you import that file into WageEasy each pay period. This guide covers turning WageEasy on, matching your staff to their WageEasy timecards, and exporting the file.
Who this is for
Owners and managers using the Shiftly web platform who pay staff through WageEasy.
Before you start
- Open the account menu (your name, top right), then Business Settings → Integrations.
- Turning WageEasy on or off, and adding department, leave and allowance codes, needs Business settings: Edit. Adding employee numbers needs Pay & labour cost: Edit. Exporting the file needs Timesheets: Edit, and a manager whose access is limited to certain tags can't export it.
- A business uses one payroll system at a time. If Xero or MicroKeeper is connected, its card has to be disconnected before you can turn WageEasy on.
- Have each employee's Time Card No from WageEasy to hand. If you use them, also have your WageEasy department codes, leave codes and allowance numbers.
Turn on WageEasy
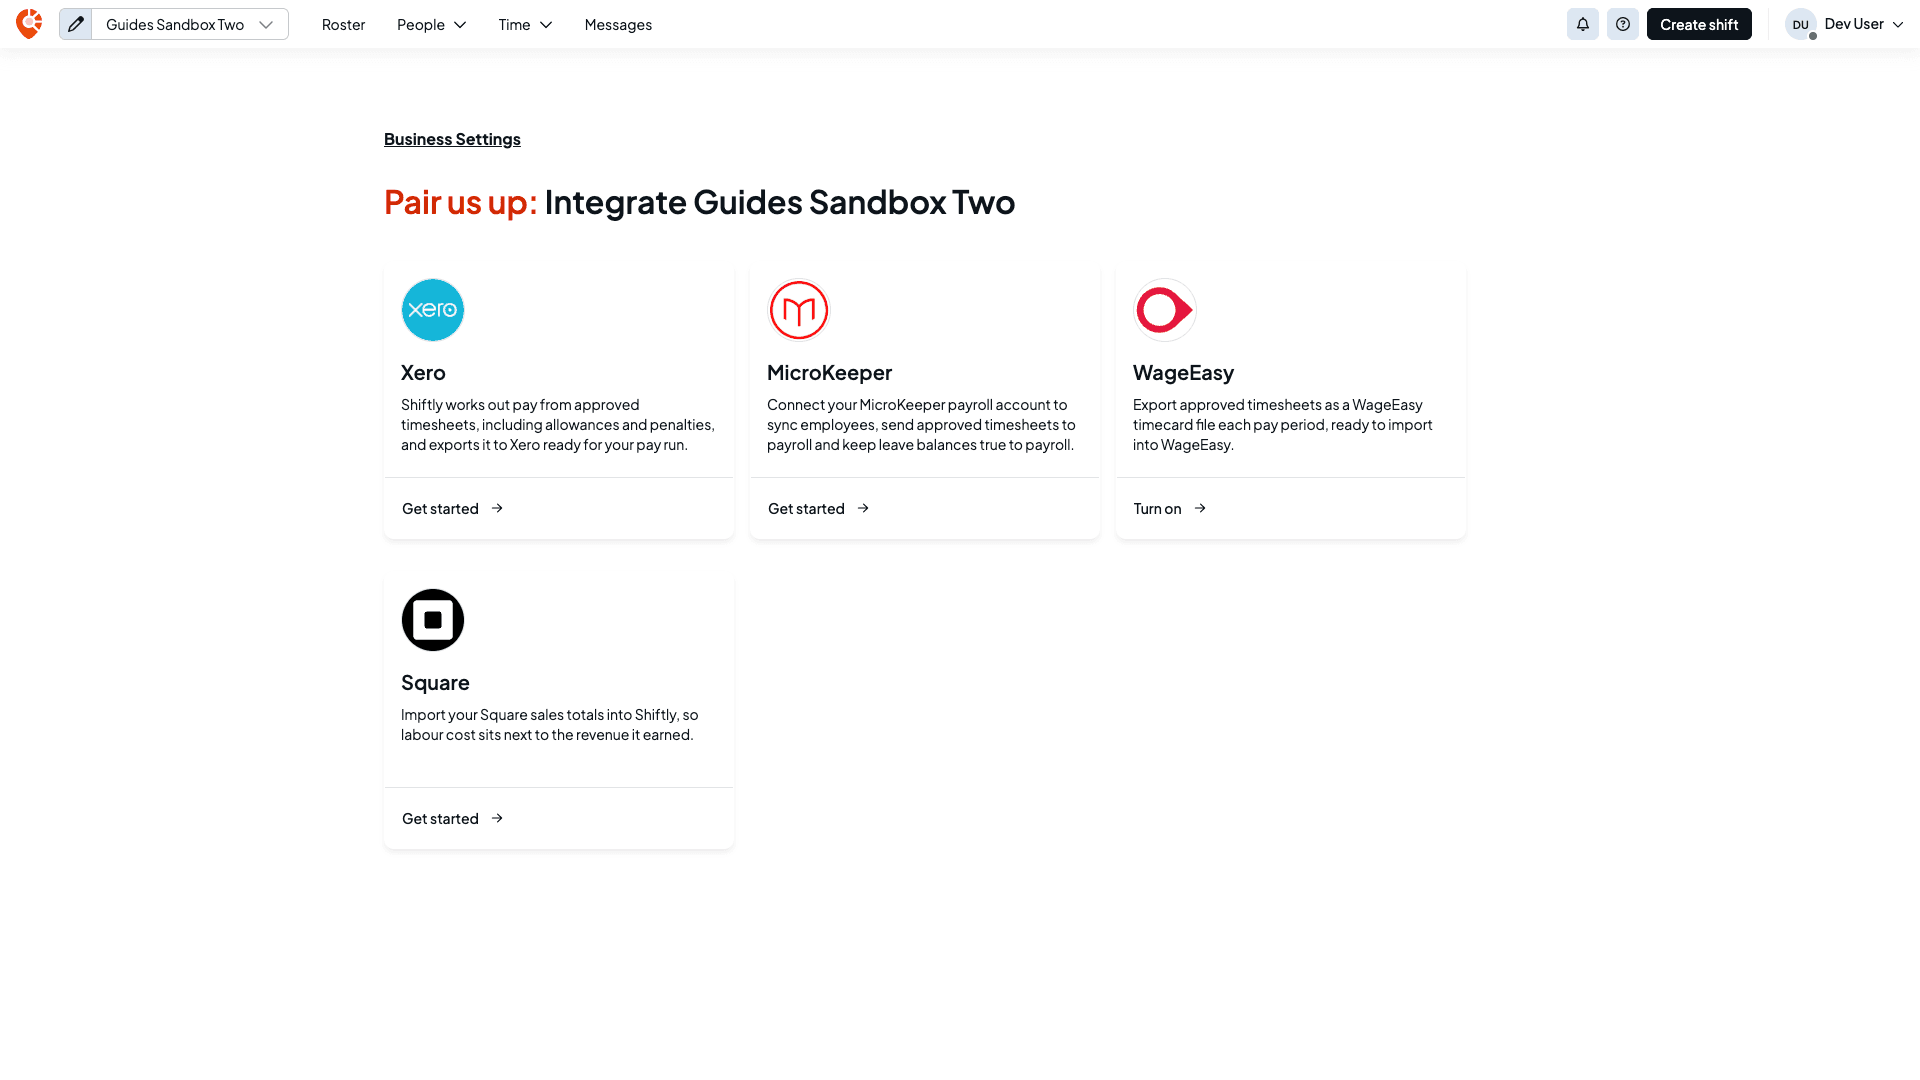
Turn it on
There's nothing to sign in to. Select Turn on WageEasy, and Shiftly opens the WageEasy setup at Employee numbers.
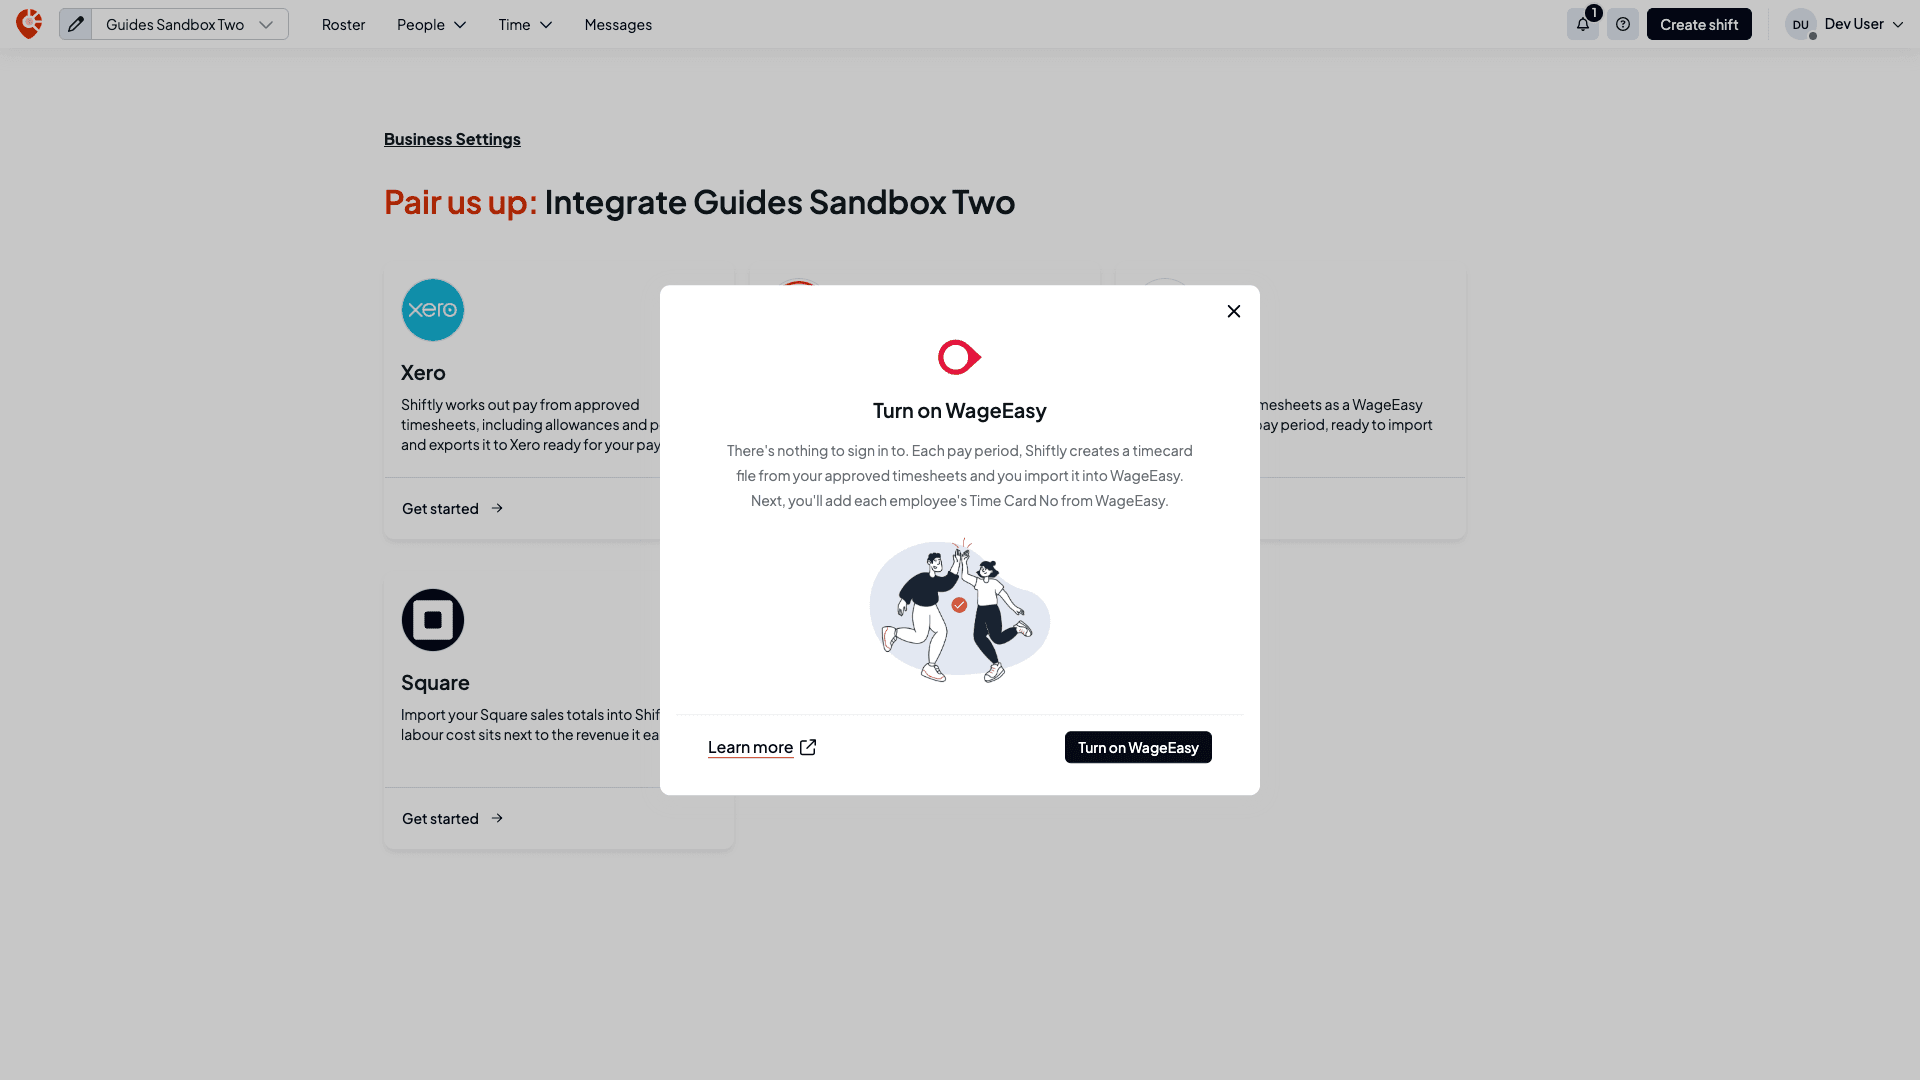
Set up WageEasy
The setup has four steps, listed on the left: Employee numbers, then three optional steps, Department codes, Leave codes and Allowance numbers. Save and next saves the step you're on and moves to the next one. Save & exit saves it and takes you back to Integrations, so you can finish later from the WageEasy card.
Add employee numbers
Each employee is listed with their email. In Time Card No, type the number of their timecard in WageEasy. Use letters and numbers only, up to 20 characters. The counters at the top show how many are numbered and how many are missing a number.
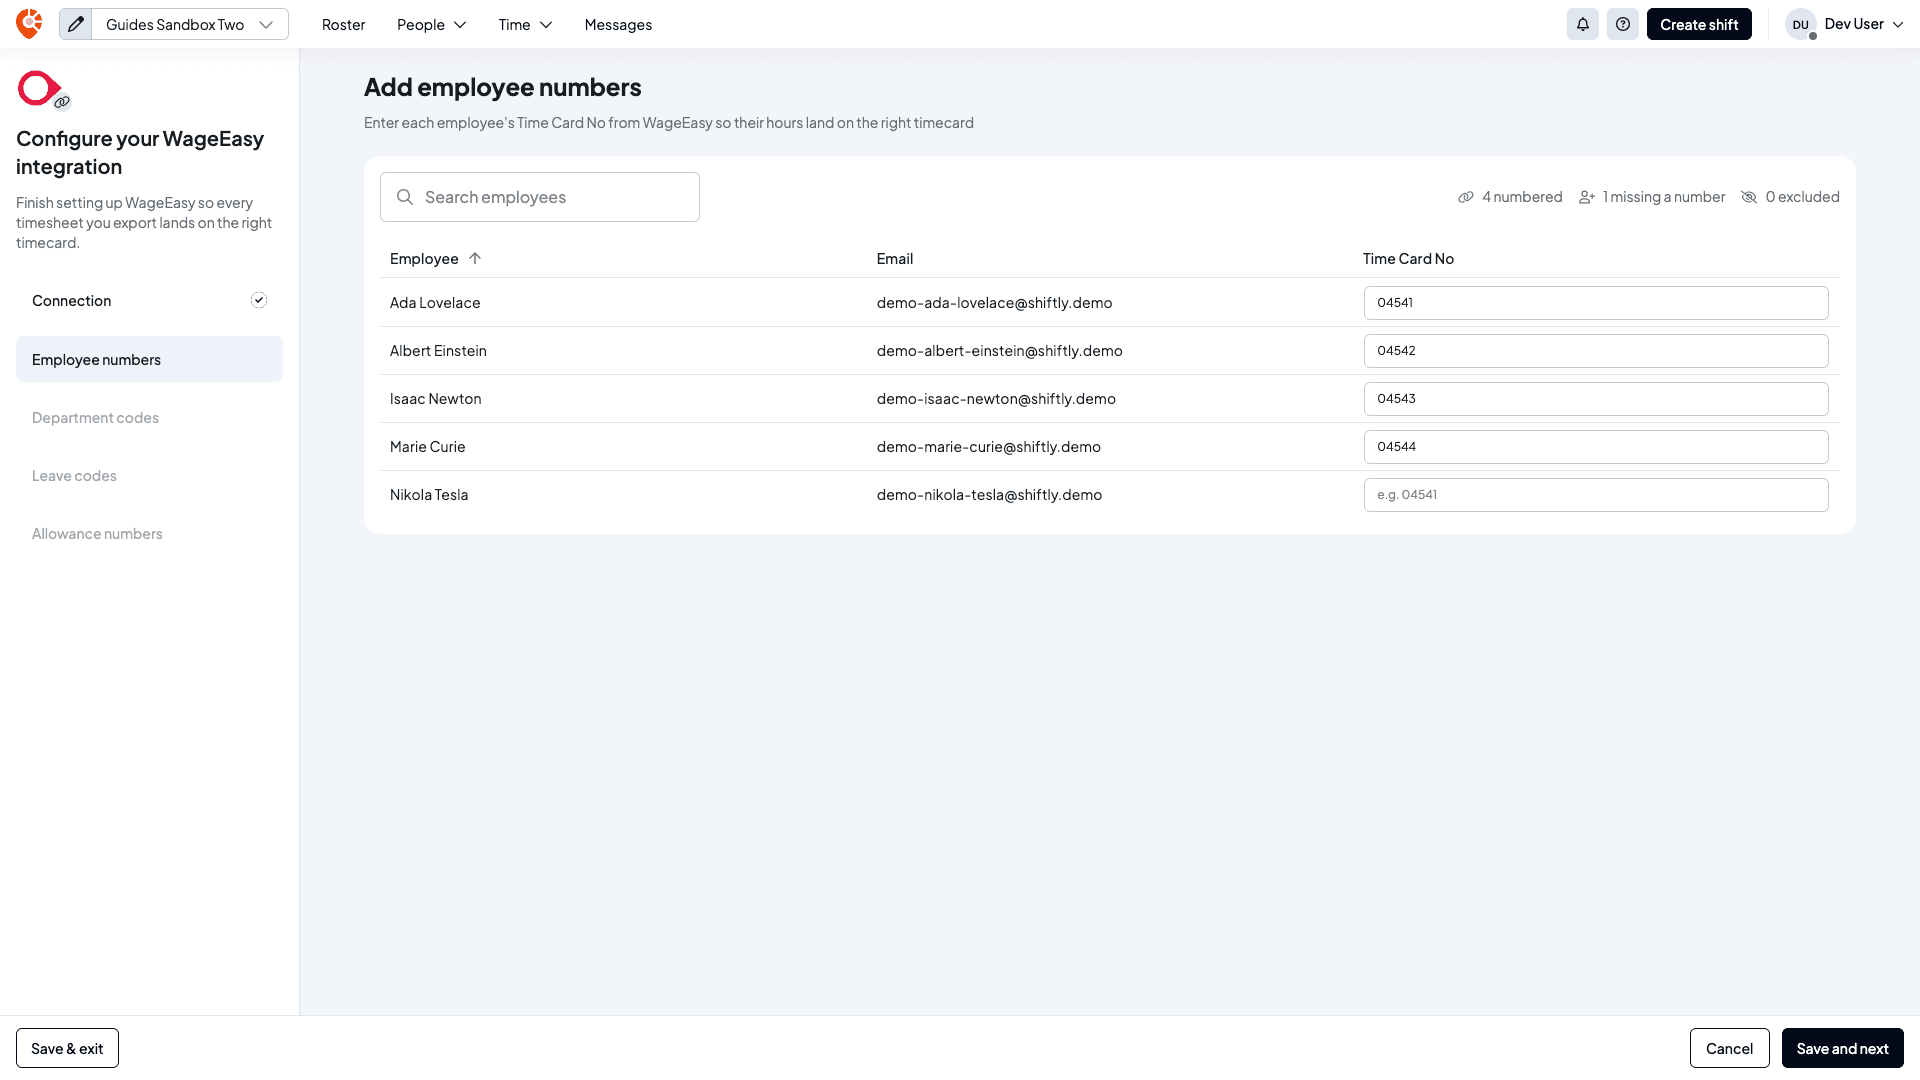
Each number can belong to one employee only. If you enter one that's already in use, Shiftly says Another employee already has this payroll employee number. Contractors aren't listed, because they're paid by invoice rather than through WageEasy timecards.
An employee without a number is left out of the timecard file until they have one. You can add or change a number later on the employee's Payroll tab, in Payroll employee number (optional).
Add department codes (optional)
Each location is listed. In Department code, enter the WageEasy department its hours should be costed to. A location with no code uses each employee's default department in WageEasy.
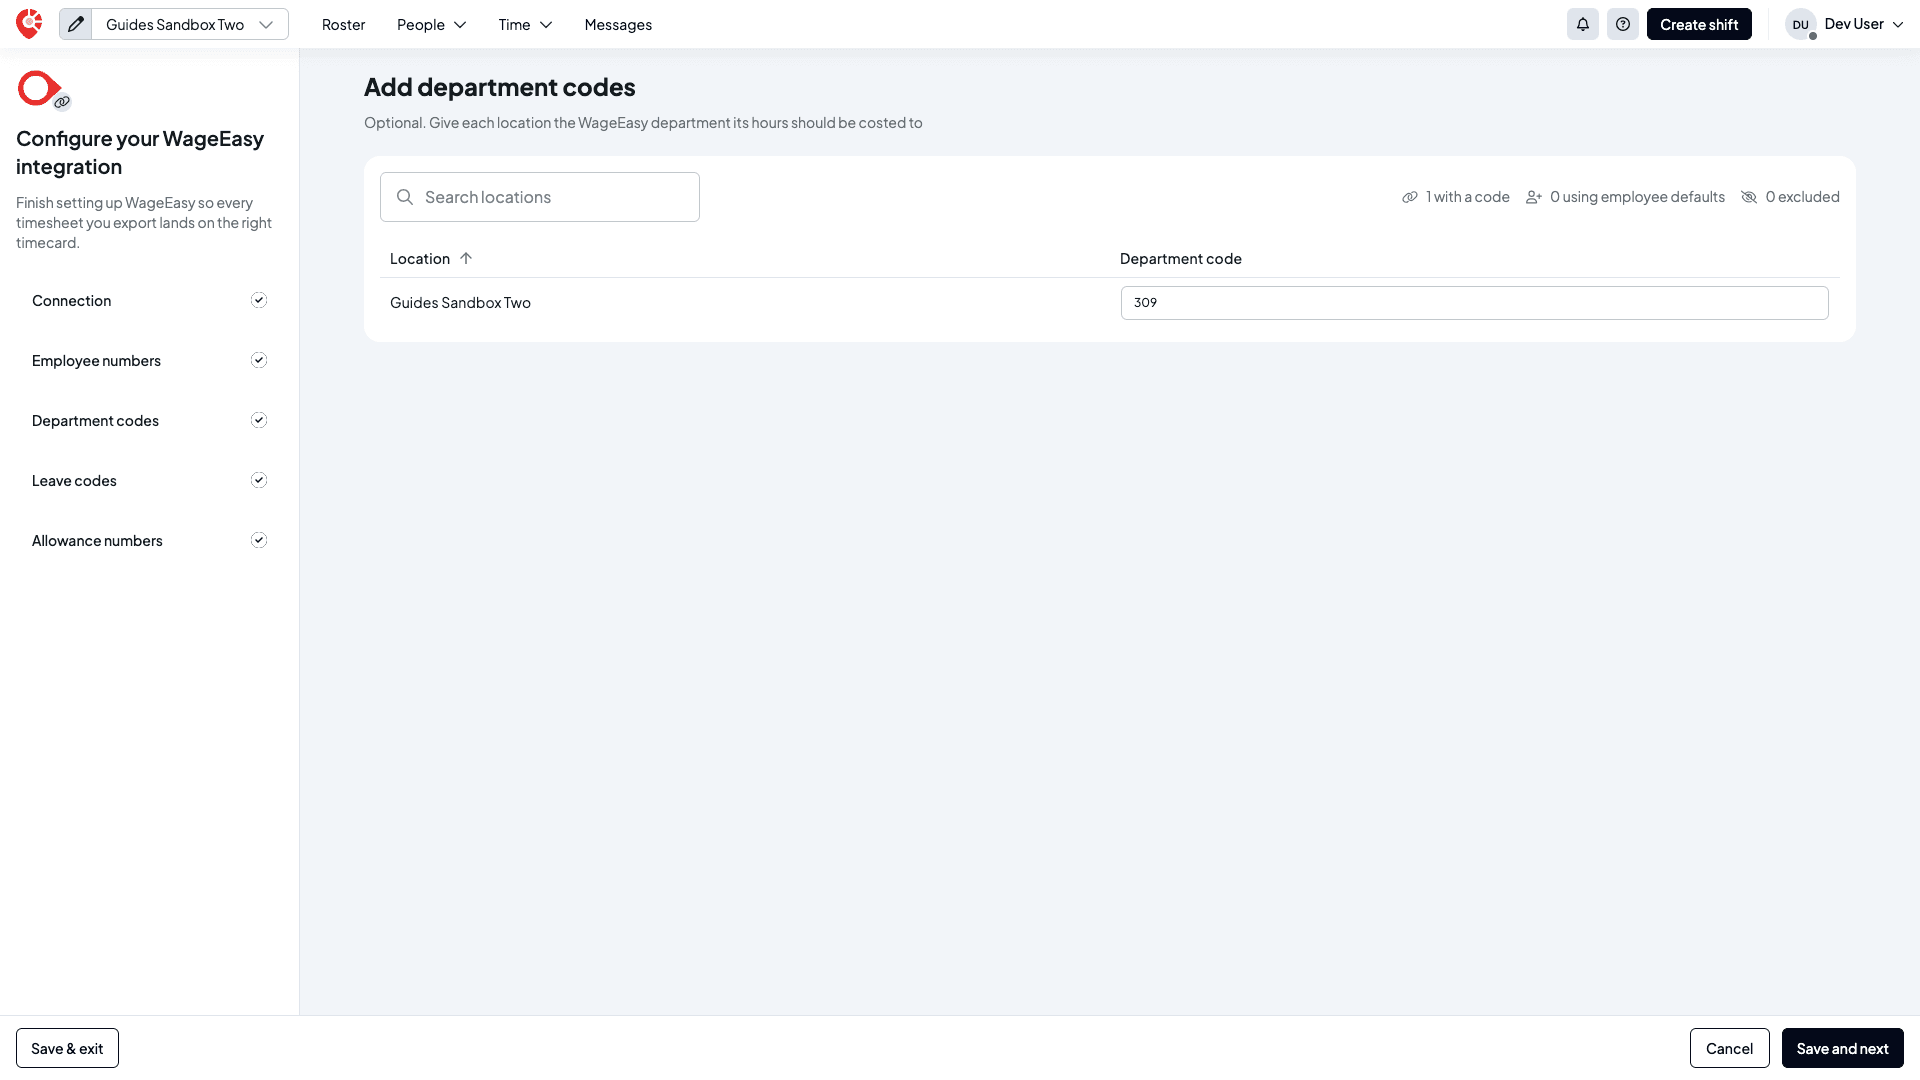
You can also change a location's code later, under Payroll export on that location's Settings tab.
Add leave codes (optional)
Each leave type is listed with a Leave code. Until you've saved any leave codes, Shiftly suggests a code made from each leave type's name. Change any that don't match the leave codes in your WageEasy. Codes can use letters, numbers and spaces, up to 20 characters.
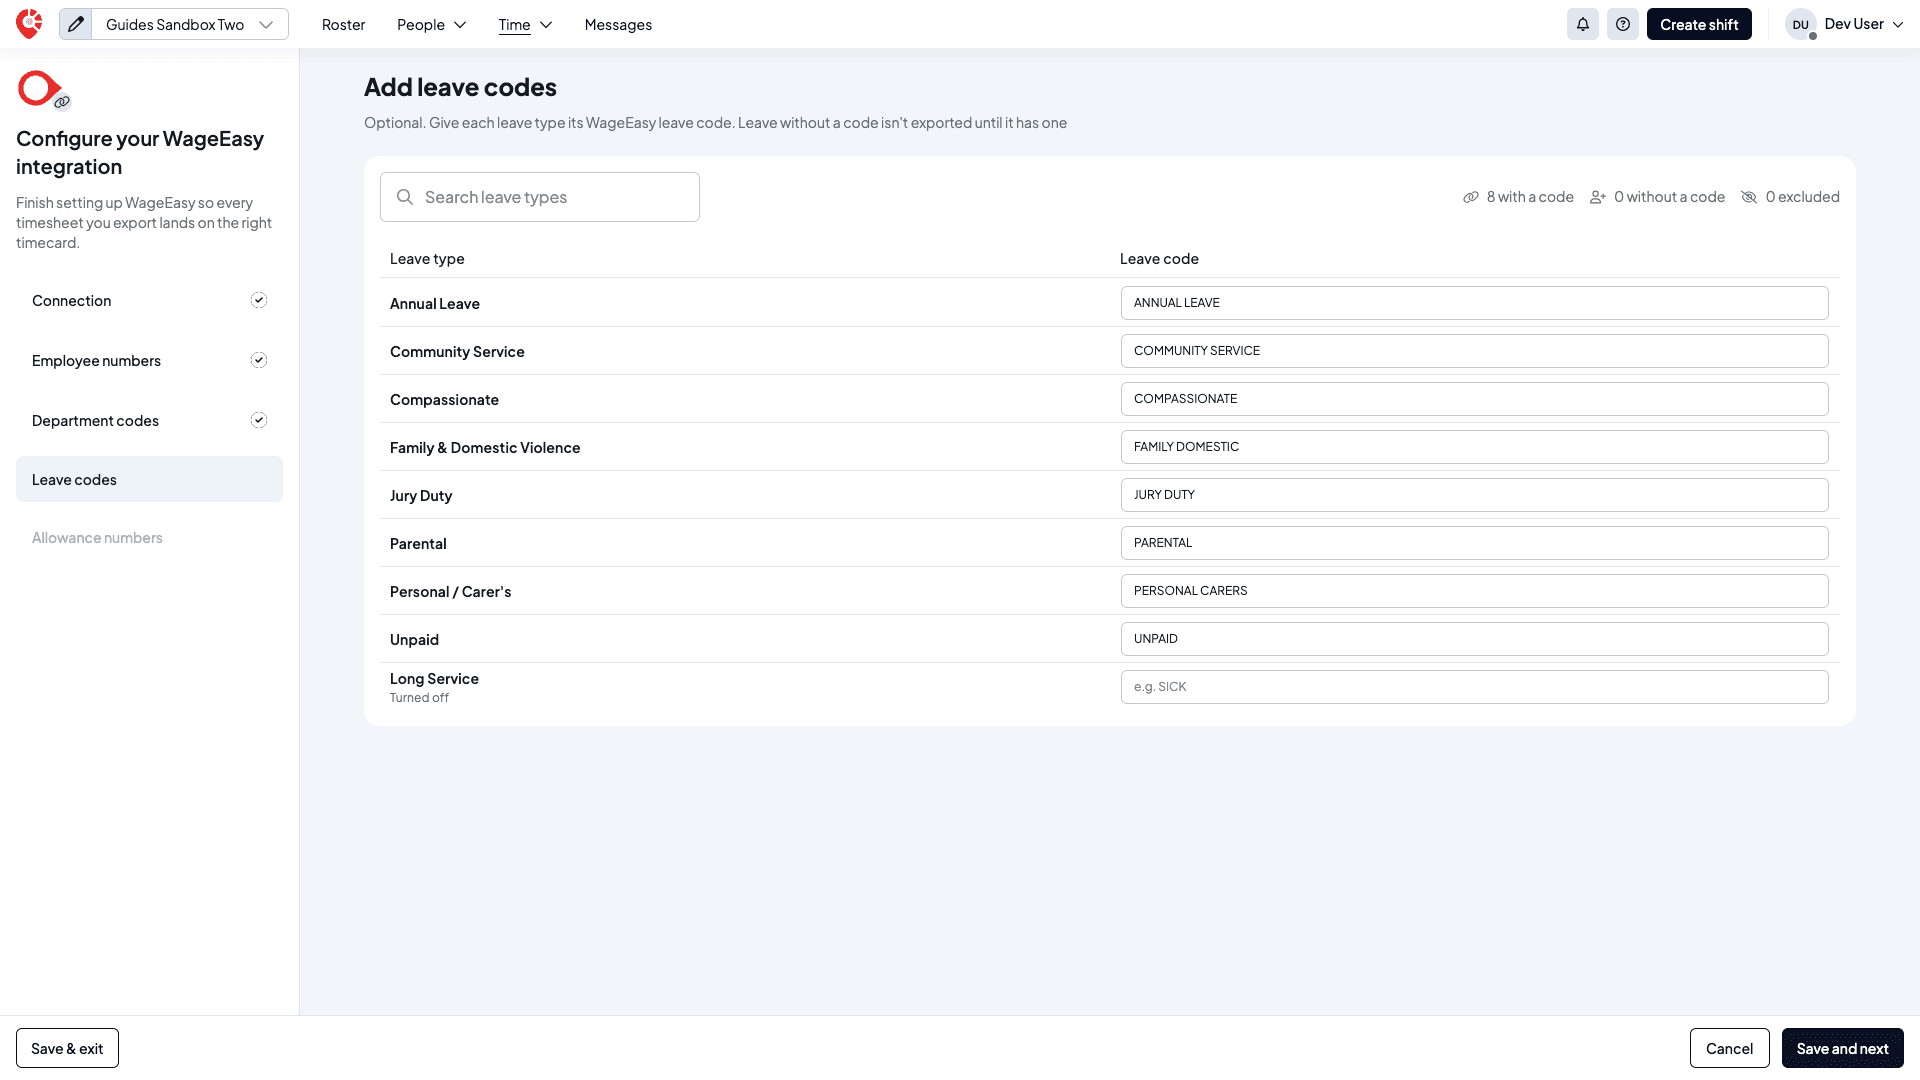
Leave types you've turned off are marked Turned off and don't need a code. Leave of a type with no code isn't added to the timecard file until it has one.
Add allowance numbers (optional)
This step lists the allowances that can be added to shifts under the awards your employees are on. Enter each one's WageEasy allowance number. Without a number, the hours still export but the allowance doesn't.
If none of those awards has an allowance that can be added to a shift, the step says Nothing to map, and there's nothing to do.
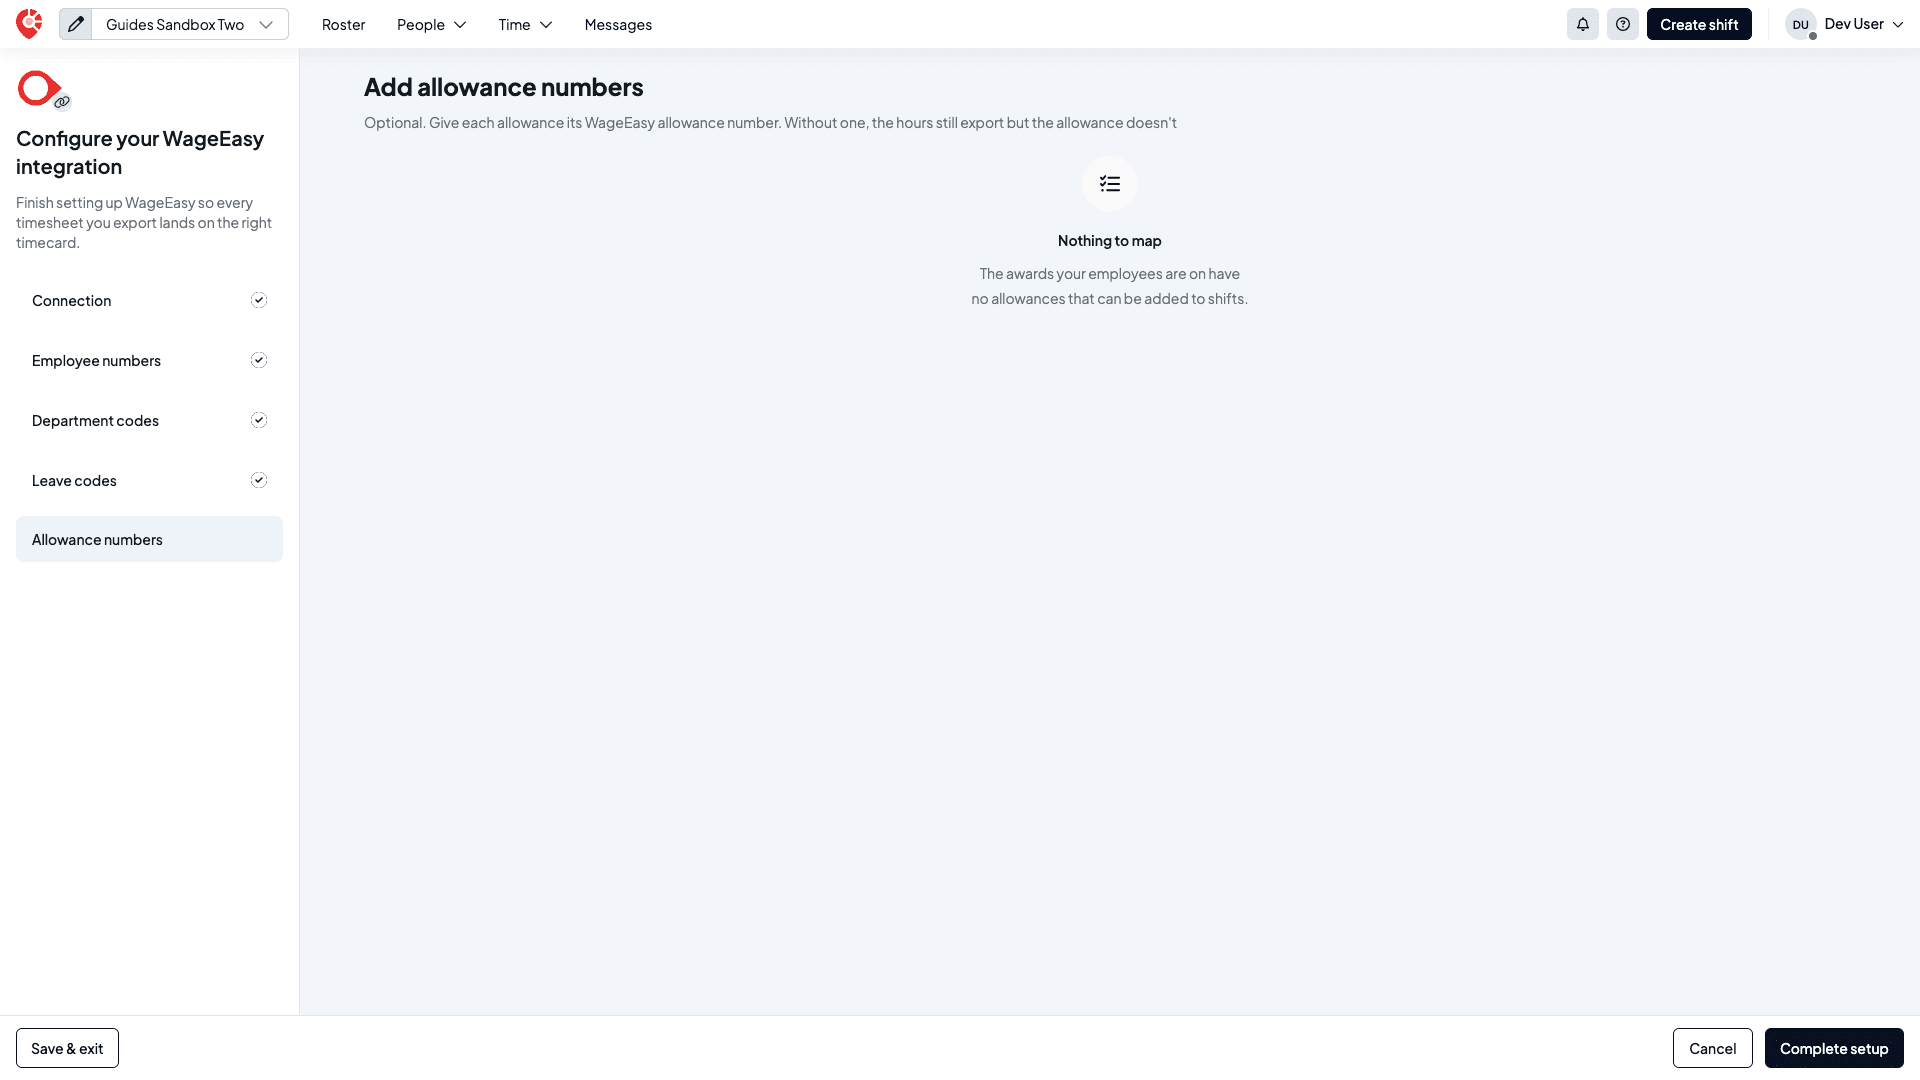
Select Complete setup.
Check WageEasy is on
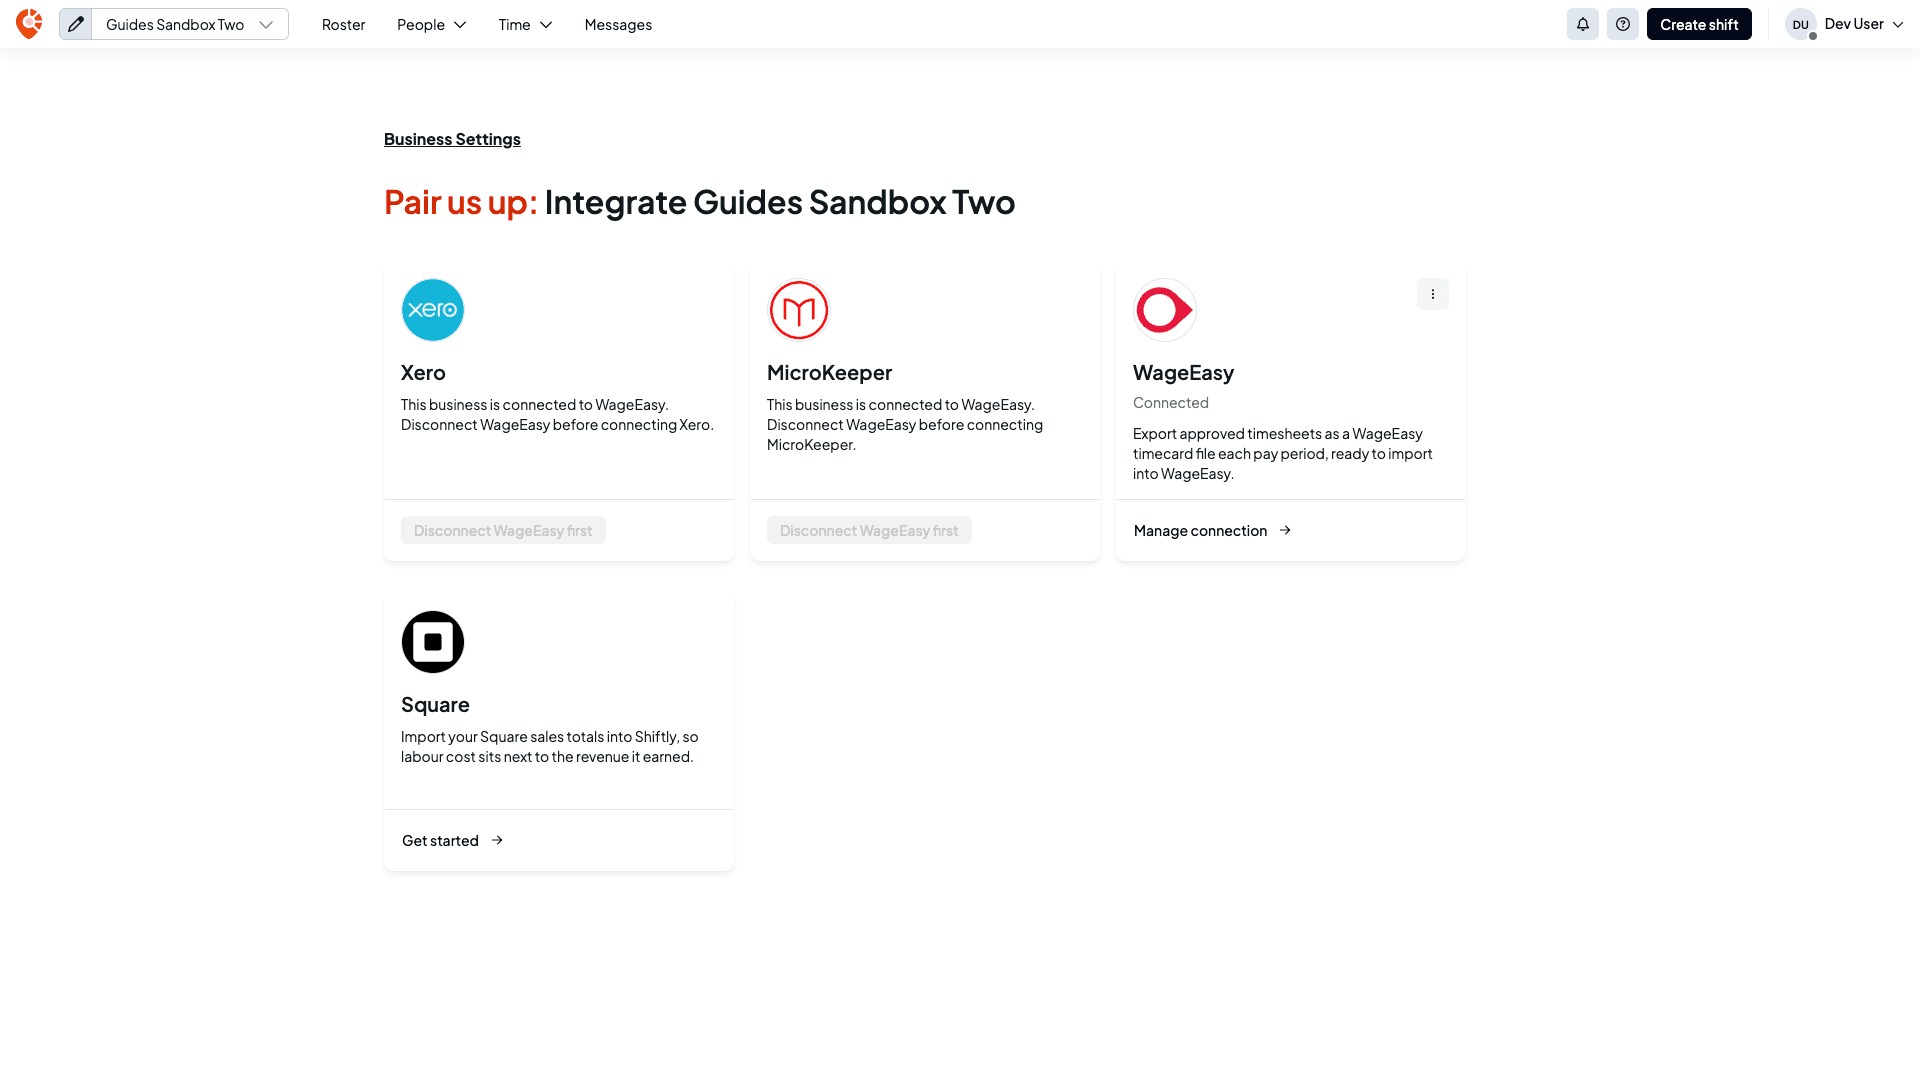
Back on Integrations, the WageEasy card says Connected. Manage connection reopens the setup, so you can change numbers and codes at any time. The other payroll cards now read Disconnect WageEasy first.
Export a timecard file each pay period
Approve the pay period's timesheets
Only approved timesheets go into the file. See Review and approve timesheets.
Choose the WageEasy file
Open Time → Timesheets and select Export. Under Payroll import, select WageEasy import (.wtc).
Select Change dates and set the dates to your pay period. WageEasy imports one pay period at a time, so the period can be 31 days at most.
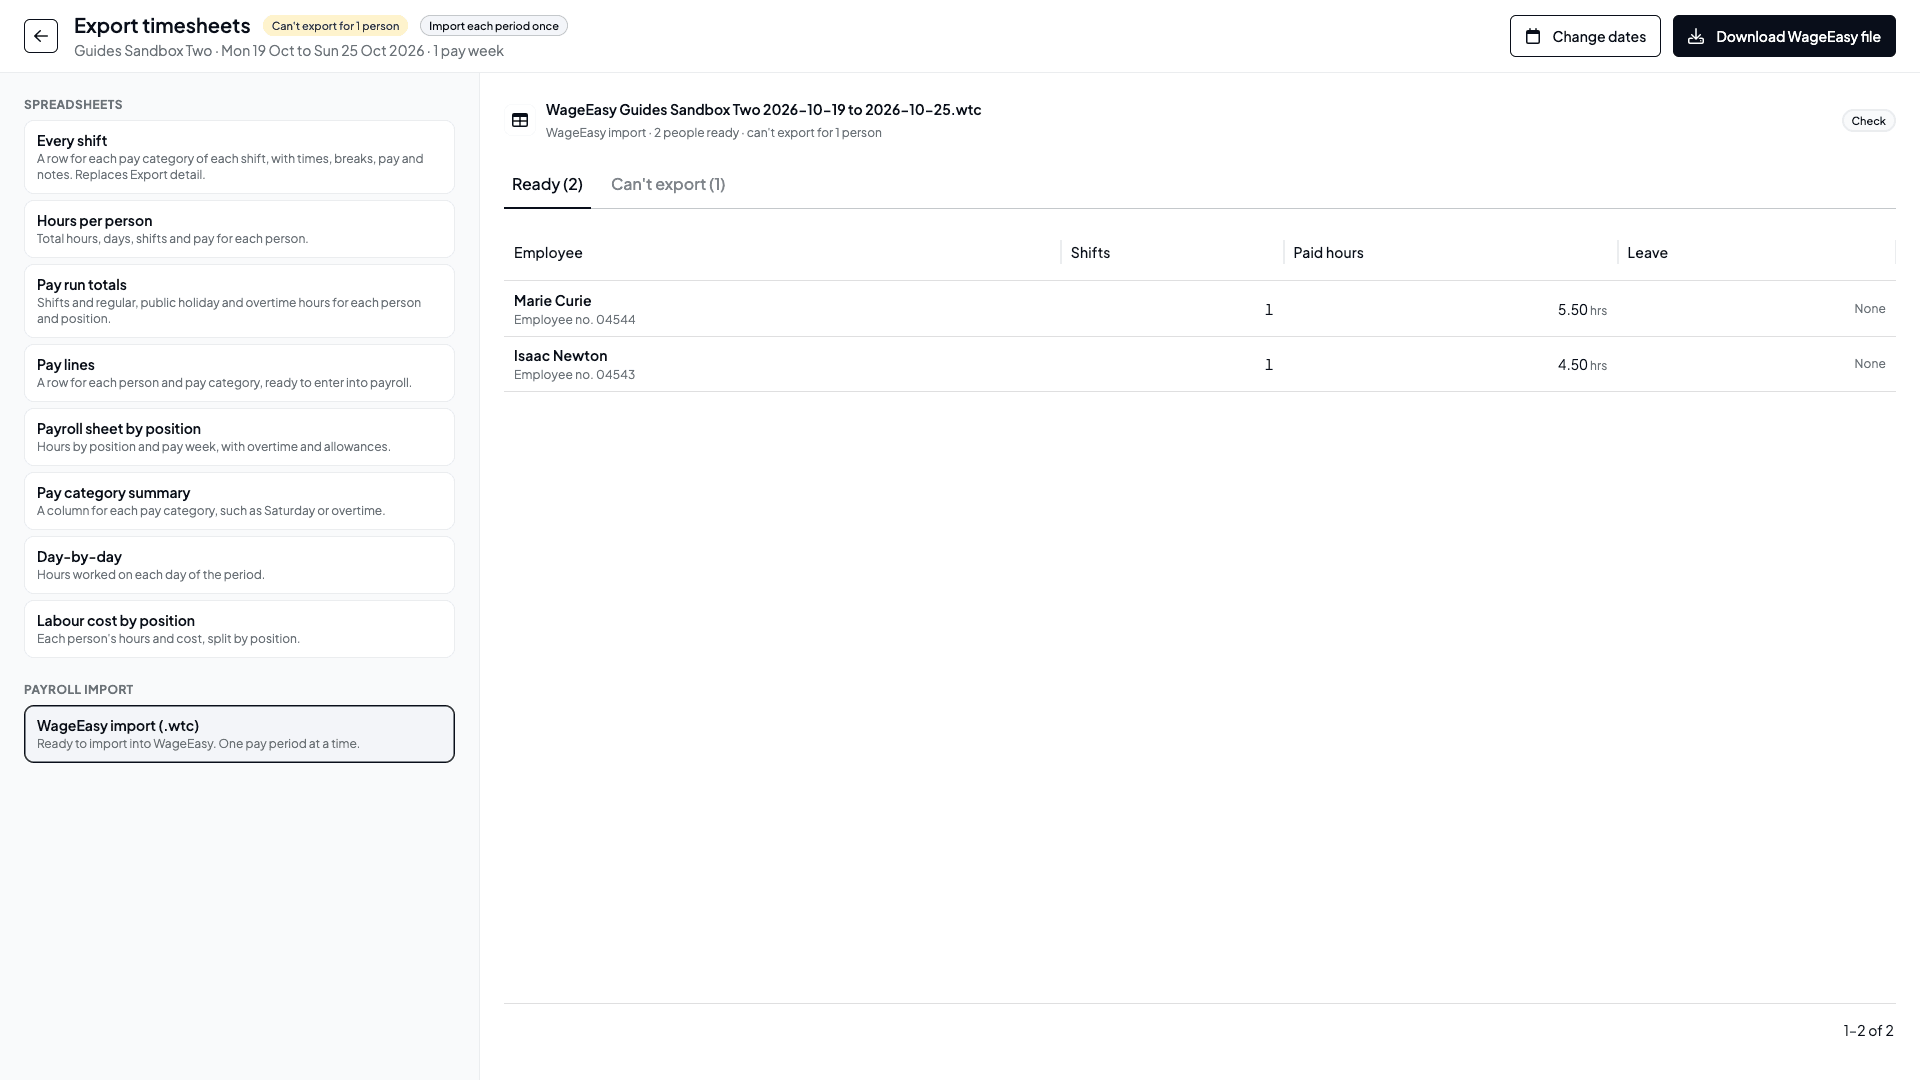
The file name and a summary, such as 2 people ready · can't export for 1 person, sit above two tabs. Ready lists each employee going into the file, with their employee number, shifts, paid hours and leave.
Check what can't be exported
Open the Can't export tab. Each row gives the reason and, where Shiftly can help, a link to fix it.
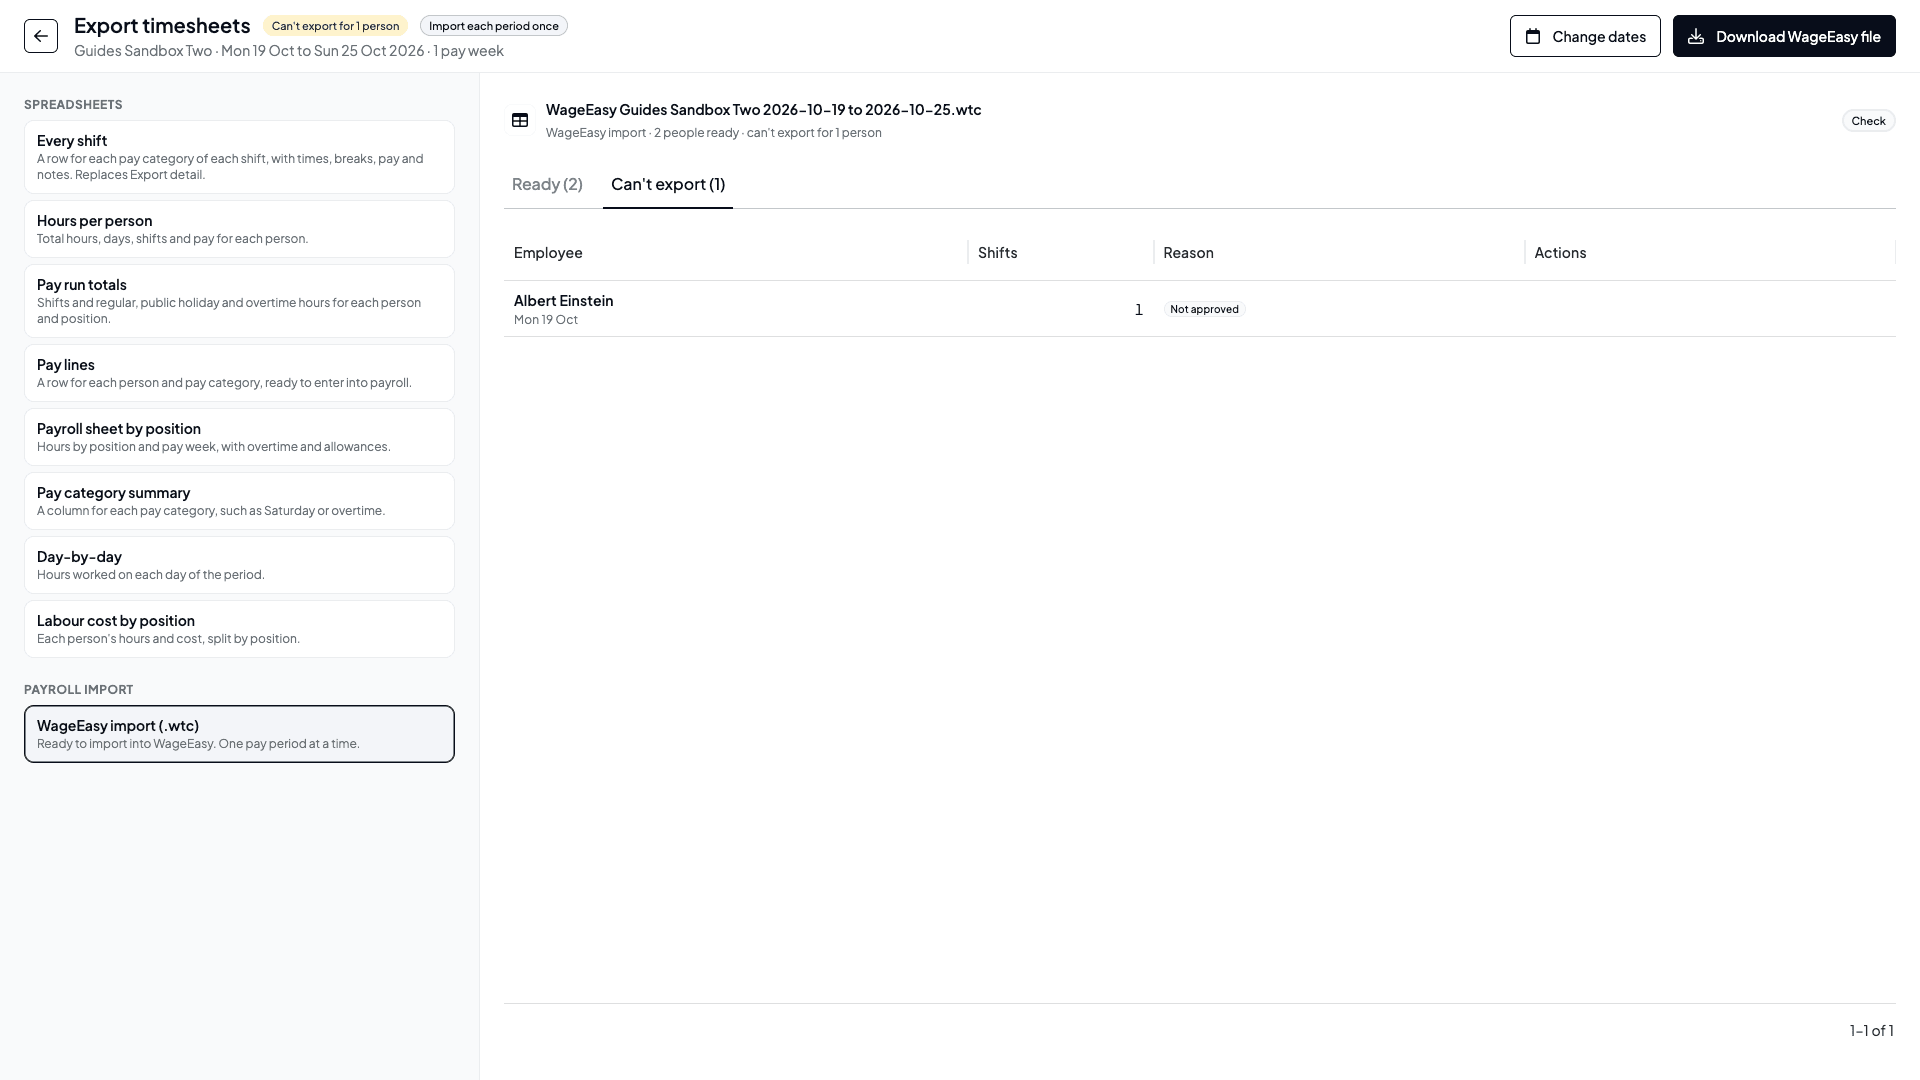
| Reason | What to do |
|---|---|
| Not approved | Approve the timesheet, then come back to the export. |
| Still clocked on | Wait until they've clocked off. |
| No employee number | Select Add employee number and add their Time Card No. |
| Duplicate employee number | Two people in the file share a number. Select Change employee number. |
| No leave code | Select Add leave code. The leave isn't in the file until it has one. |
| No allowance number | Select Add allowance number. The hours are in the file, the allowance isn't. |
| Ends after pay period | WageEasy rejects times outside the pay period, so enter this shift by hand. |
| Daylight saving | The shift crosses a daylight saving change, so enter it by hand. |
| Check hours | Paid hours don't match the start, finish and breaks. Check the timesheet, save it and approve it again. |
| Overlapping shifts | WageEasy rejects overlapping shifts. Fix the times. |
| Already in payroll | It's already been sent to a payroll provider, so exporting it again would pay it twice. |
| Contractor | Contractors are paid by invoice, not WageEasy timecards. |
| Salaried | Salaried employees are paid their salary in WageEasy, so their hours aren't exported. |
| No time recorded | The timesheet has no paid time. |
| Not employed | They have no employment at this business. |
Volunteer shifts and rejected timesheets are never included, and a note under the table says how many were left out. If nothing can be exported yet, the page says Nothing to export. After you fix something, open the export again to check the period.
Download the file
Select Download WageEasy file. Shiftly saves the .wtc file to your computer and confirms WageEasy file downloaded. For each employee, the file holds their Time Card No and each shift's start and finish times, with breaks taken out and the location's department code added. Then import the file into WageEasy.
Import each period once. Shiftly doesn't mark timesheets as exported, so downloading the same period again gives you the same hours. Importing the same period into WageEasy twice can pay it twice, and so can importing one location's file on top of a file for all locations.
When leave is included
Approved leave goes into the file only when the export covers every location in your business for the whole period. If you ticked timesheets, filtered the table, exported one location of several, or don't have Leave access, a Leave not included badge appears beside the title and explains why. Leave that sits in more than one file would be paid more than once.
Turn off WageEasy
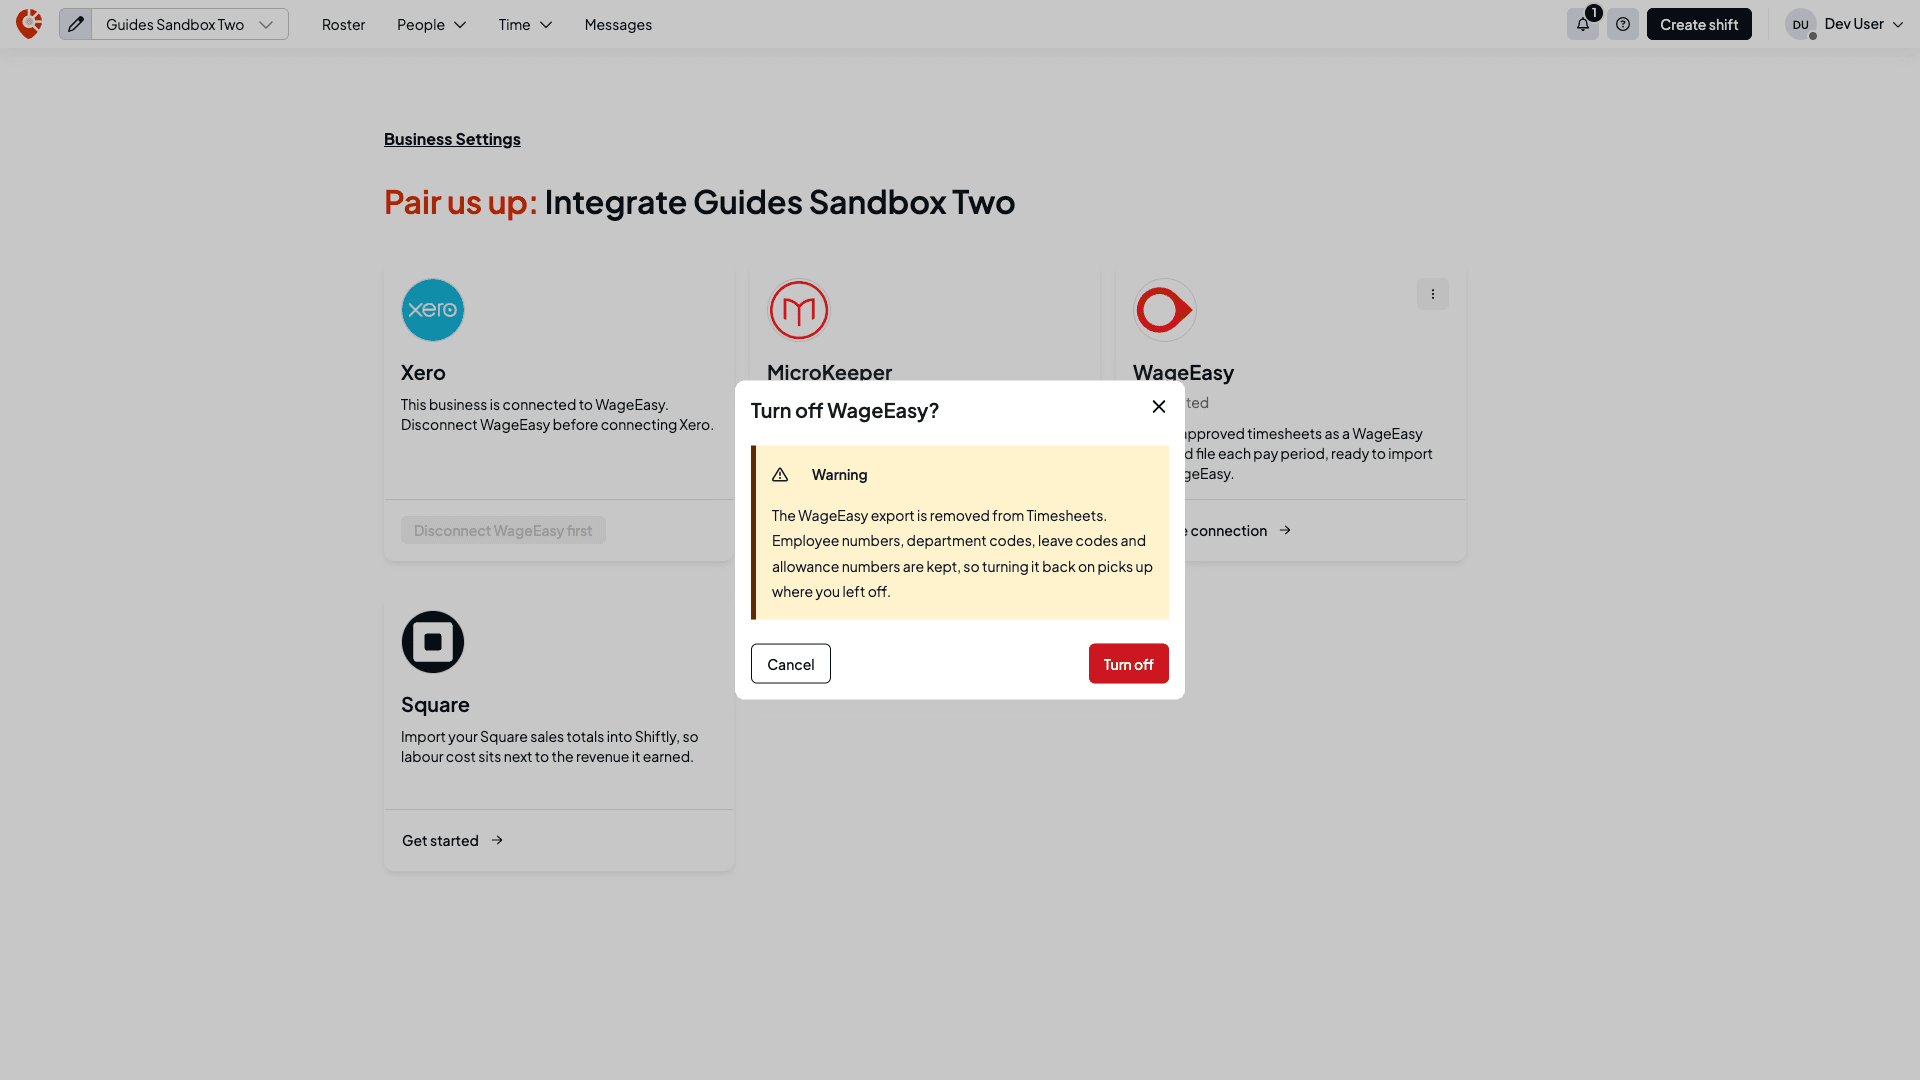
On the WageEasy card, open the actions menu and choose Turn off WageEasy, then confirm with Turn off. The WageEasy export is removed from Timesheets. Employee numbers, department codes, leave codes and allowance numbers are kept, so turning it back on picks up where you left off.
Related
What syncs with Xero
Which information moves between Shiftly and Xero, in which direction, and when, including what happens if you disconnect.
Let another app use your Shiftly data, or cut it off
Approve another product's request to read or change your business's Shiftly data, check which apps are connected and what each can do, and disconnect one.