Using the scheduler
Find your way around the weekly roster grid — switch views, move between weeks, filter, read shift statuses, and assign your team.
The scheduler is the weekly grid where your whole roster comes together. Open it from Roster in the main navigation. This guide is a tour of the grid itself — how to read it, switch views, move between weeks, filter, and assign staff. Building, publishing, and copying shifts each have their own guide, linked at the end.
Who this is for
Owners and managers using the Shiftly web platform to run your business.
Before you start
- You're an owner or a manager with access to at least one location.
- Open Roster from the main navigation.
- Each location has its own roster. Switch location using the selector at the top left — the example below is Bondi Beach.
Find your way around the grid
Read the grid
The roster shows one week at a time. Each column is a day of the week, and each row is a position (for example Bartender or Waitstaff). Every shift sits in the cell for its day and position.
Each day header shows that day's totals — hours scheduled, number of shifts, and people assigned. Each row shows the same totals for that position across the week.
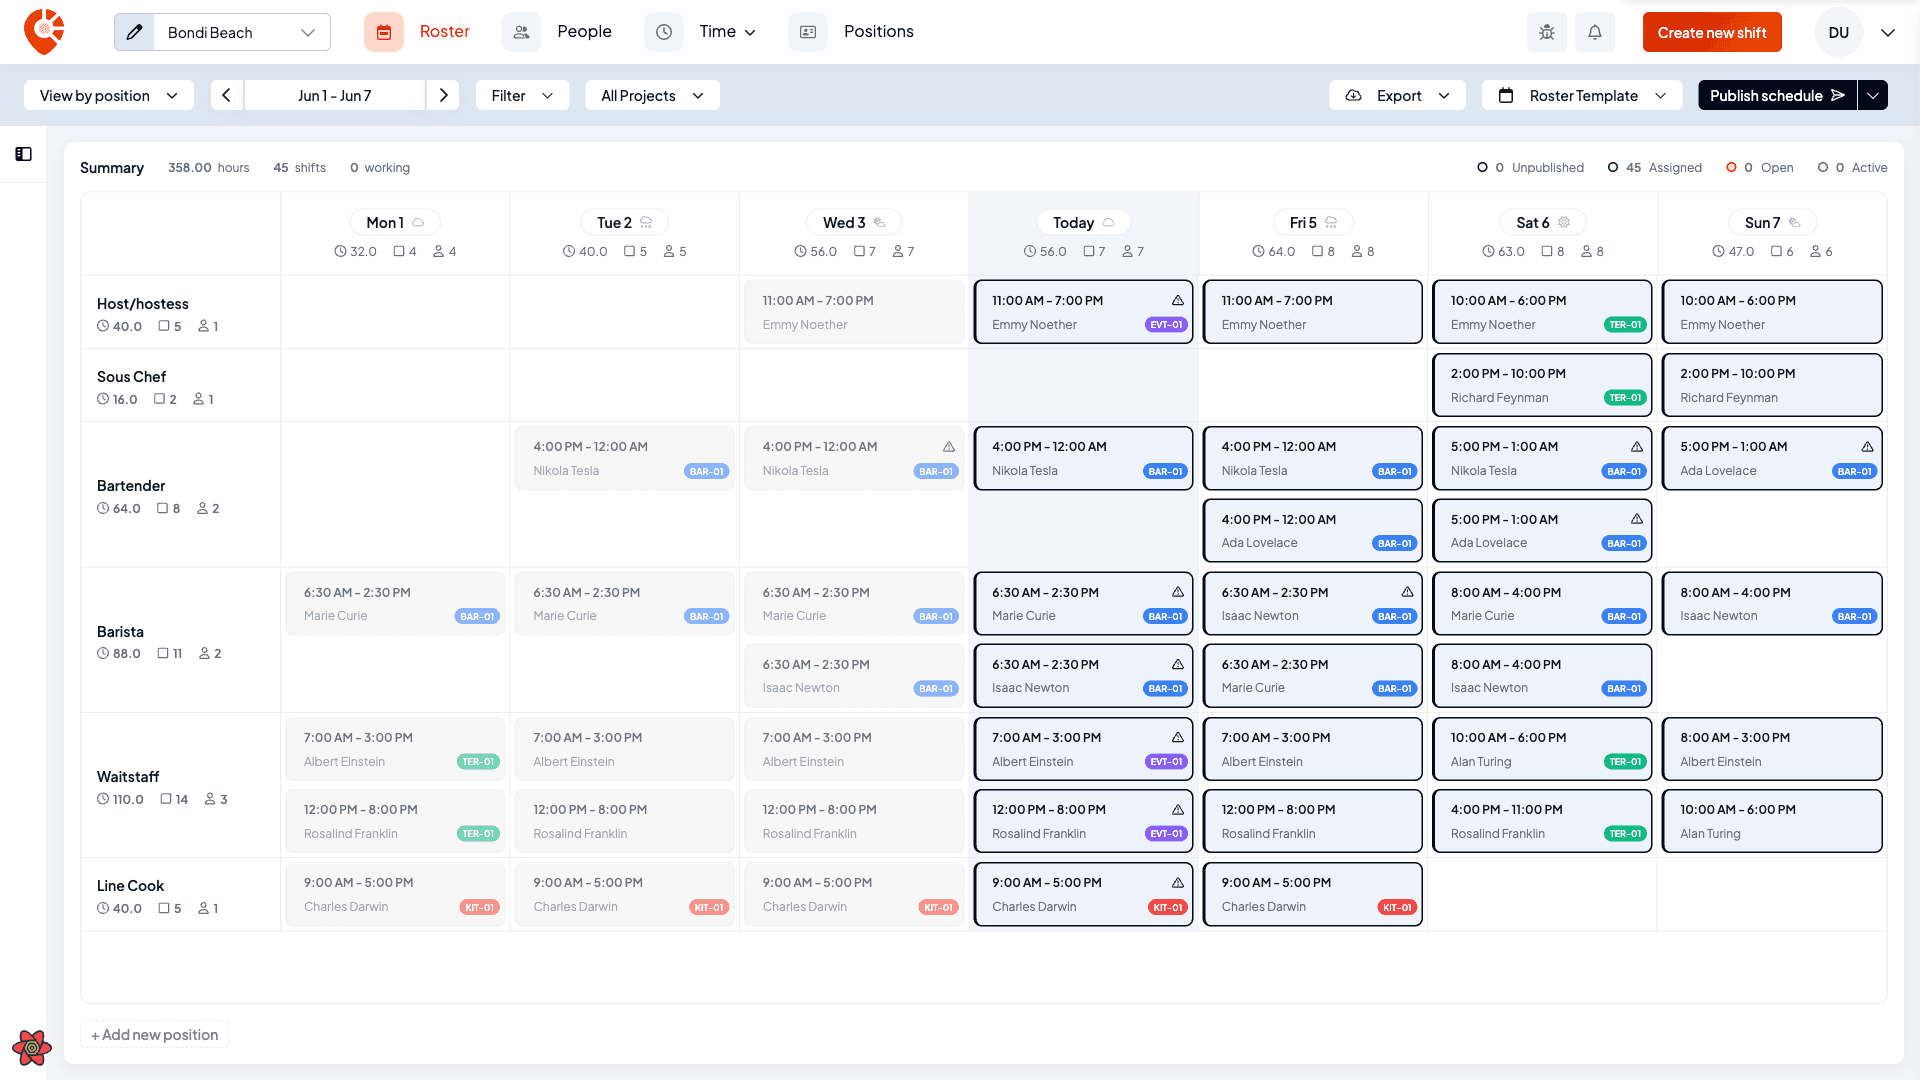
Check the summary bar
The bar above the grid sums up the visible week: total hours, shifts, and how many are currently working. Next to it is the status legend — Unpublished, Assigned, Open, and Active — which matches the colours on the shift cards.

Switch between position and staff view
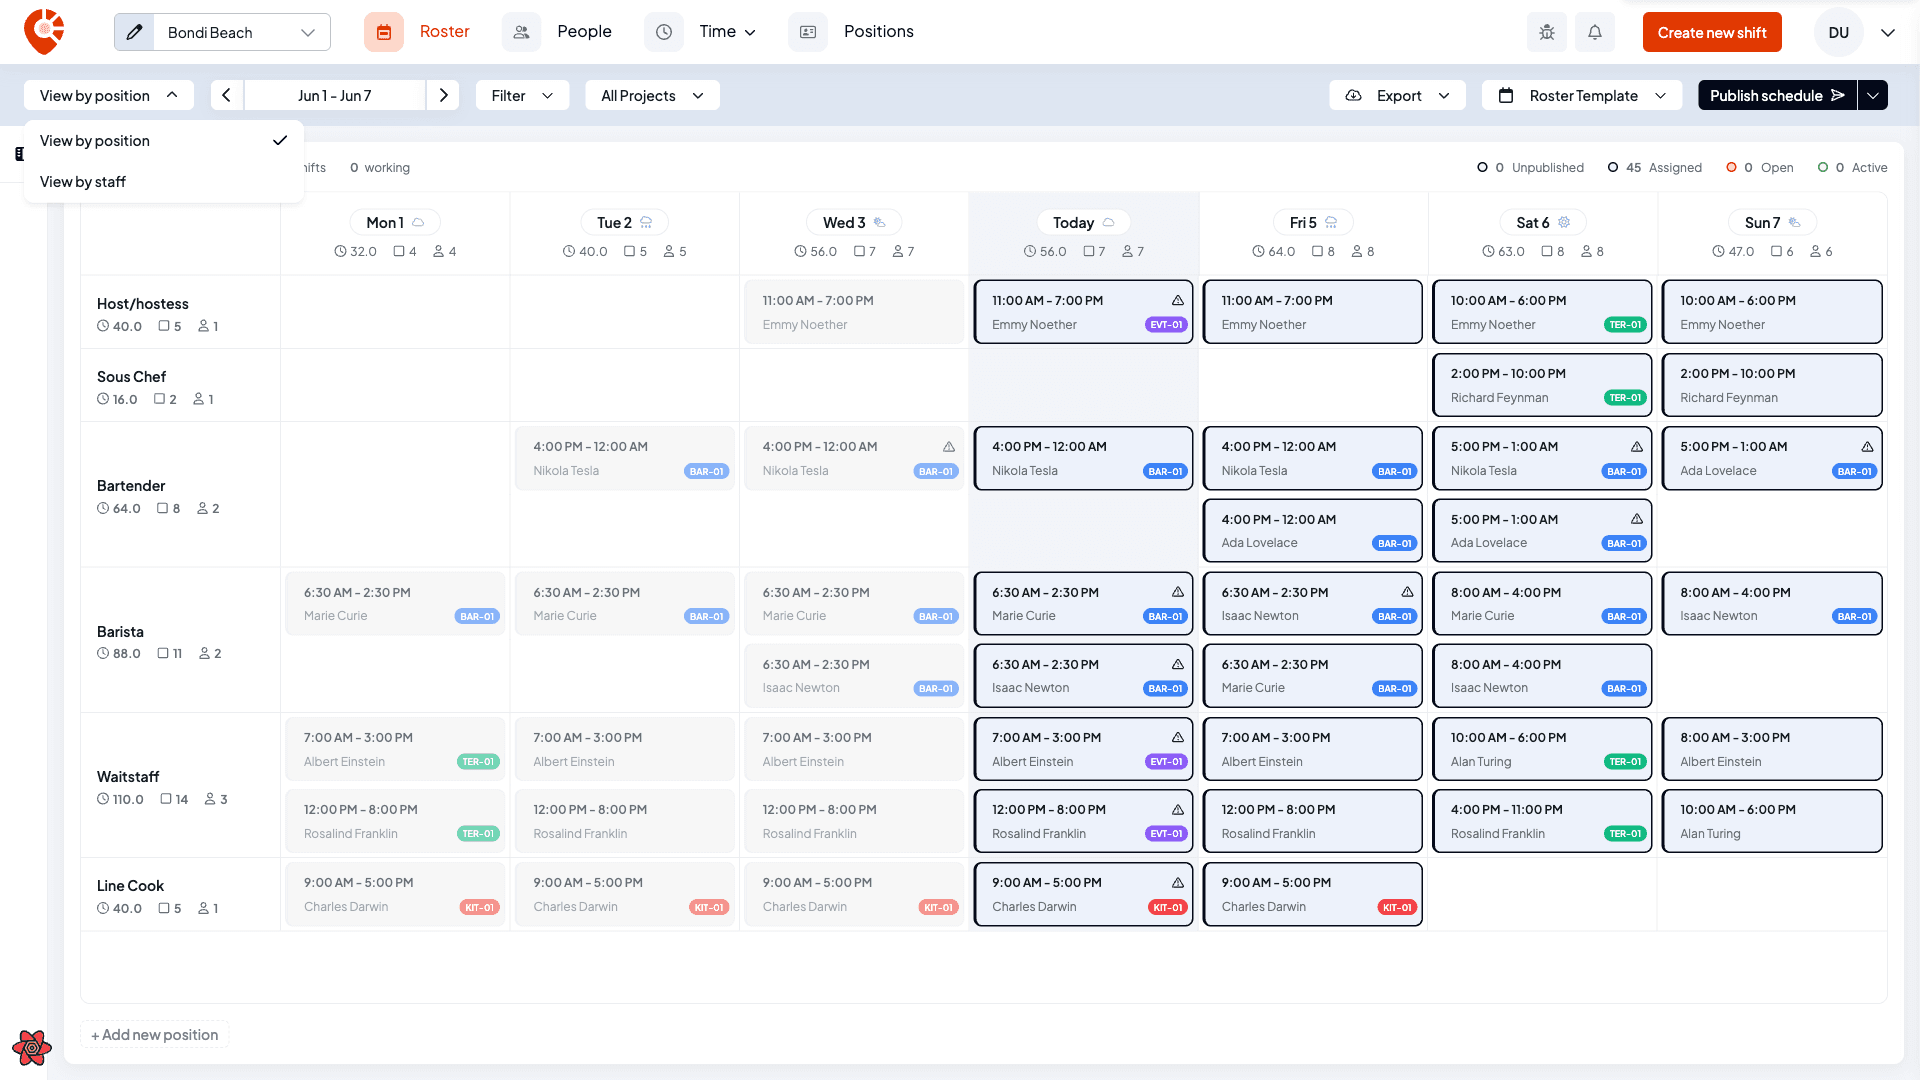
Open the view menu
Use the view menu at the top left (it reads View by position or View by staff). View by position groups the week by role, so you can spot gaps in each position. View by staff turns each employee into a row instead.
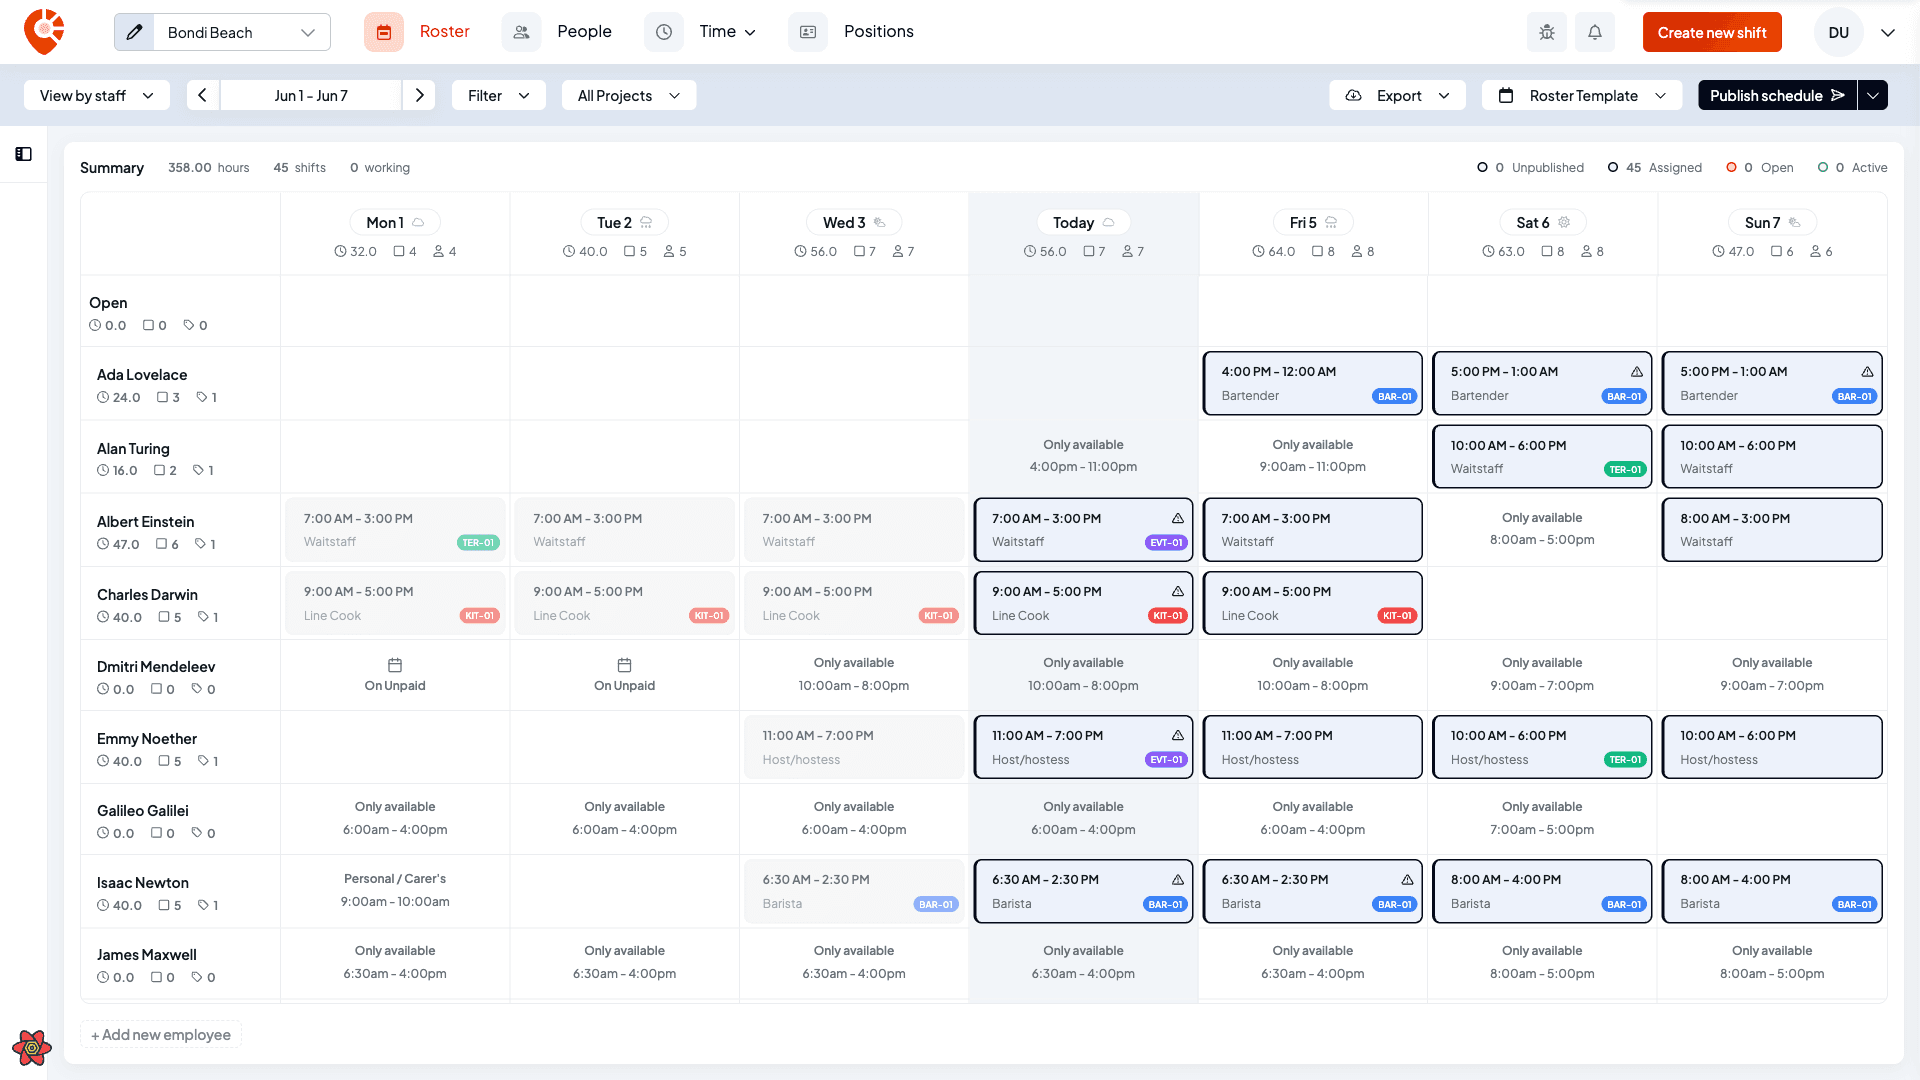
View by staff
In View by staff, every team member is a row with their own weekly hours, and empty cells show each person's availability (for example Only available with a time range, or Unavailable). It's the quickest way to see who is over- or under-booked.
Move between weeks
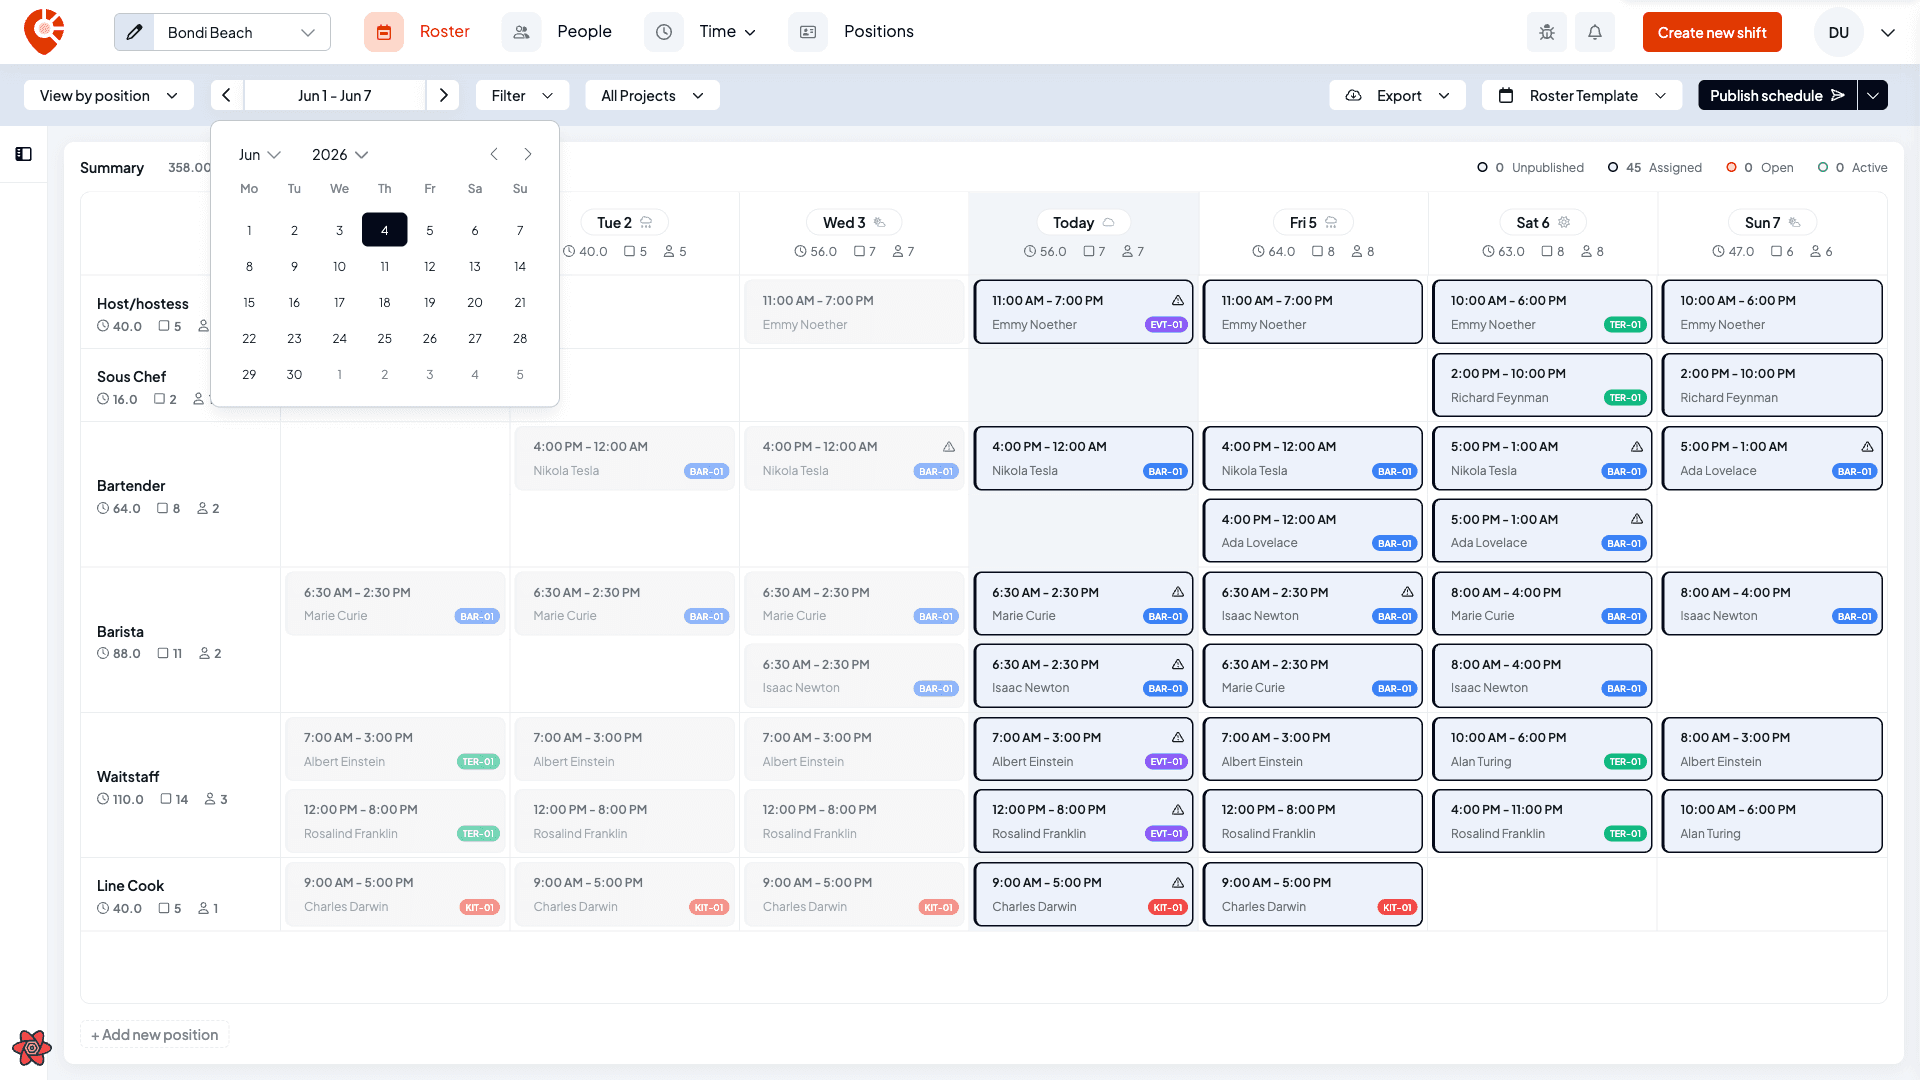
Step forward, back, or jump
Use the arrows beside the dates to move one week back or forward. Click the dates themselves to open a calendar and jump straight to any week. The current day is marked Today in the grid.
Filter what you see
Open the filter panel
Select Filter in the header. You can narrow the grid by Employee (search by name), Status (Unpublished, Published, Active, Open), and Position. The Filter button shows a small count badge while any filter is on, and Clear All removes them in one tap.
If nothing matches, the grid shows No shifts match your filters. Filters reset when you switch location.
The All Projects menu beside the filter narrows the roster to a single project (the menu uses whatever you've named the feature — Projects, Cost centres, Jobs). Each shift card shows its project code, like BAR-01. See Projects.
Read shift statuses and warnings
A shift card's colour tells you where it is in its lifecycle, matching the legend in the summary bar.
Unpublished — drafted but not yet sent to staff. The card is white with a grey outline.
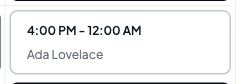
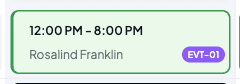
Assigned — published and assigned to a team member. The card has a navy tint.
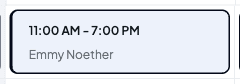
Open — published with no one assigned, so staff can request it. The card has an orange tint and reads Open shift.
Active — currently being worked. The card turns green once the assigned person has clocked in, and the summary bar's working count goes up.
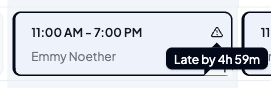
A small warning triangle can appear on an assigned card. Hover it to read why:
- No timesheet — the shift has ended but no timesheet was recorded.
- Late by … — the shift's start time has passed and no one has clocked in.
- Marked as unavailable — the assigned person set themselves unavailable for that time.
Act on a shift
Open a shift's menu
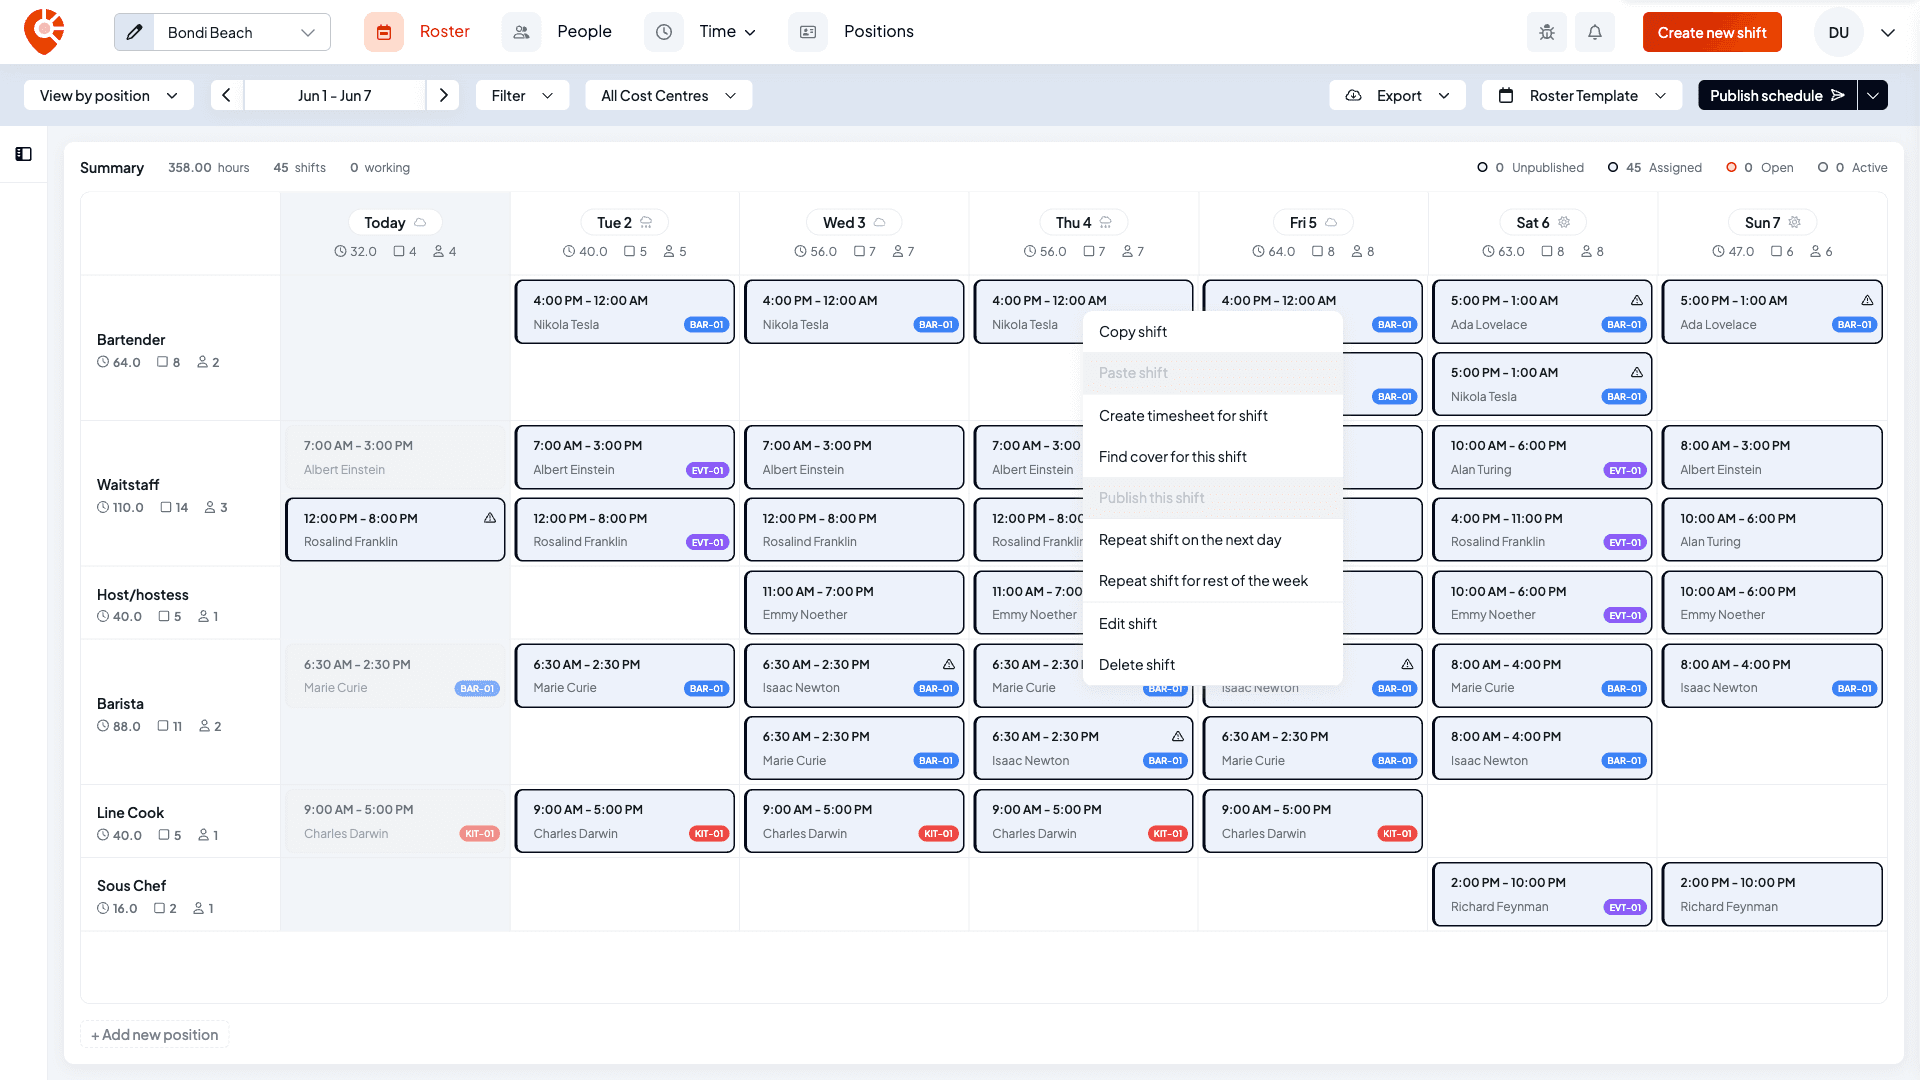
Right-click a shift to open its menu: Copy shift, Paste shift, Create timesheet for shift, Find cover for this shift, Publish this shift, Repeat shift on the next day, Repeat shift for rest of the week, Edit shift, and Delete shift.
Some actions depend on the shift — for example, you can't edit or delete a shift while the assigned person is clocked in and working it (wait until they clock out). Any other shift, including ones that have already finished, can still be edited or deleted by clicking the card.
Assign staff from the tray
Open the drag-and-drop tray
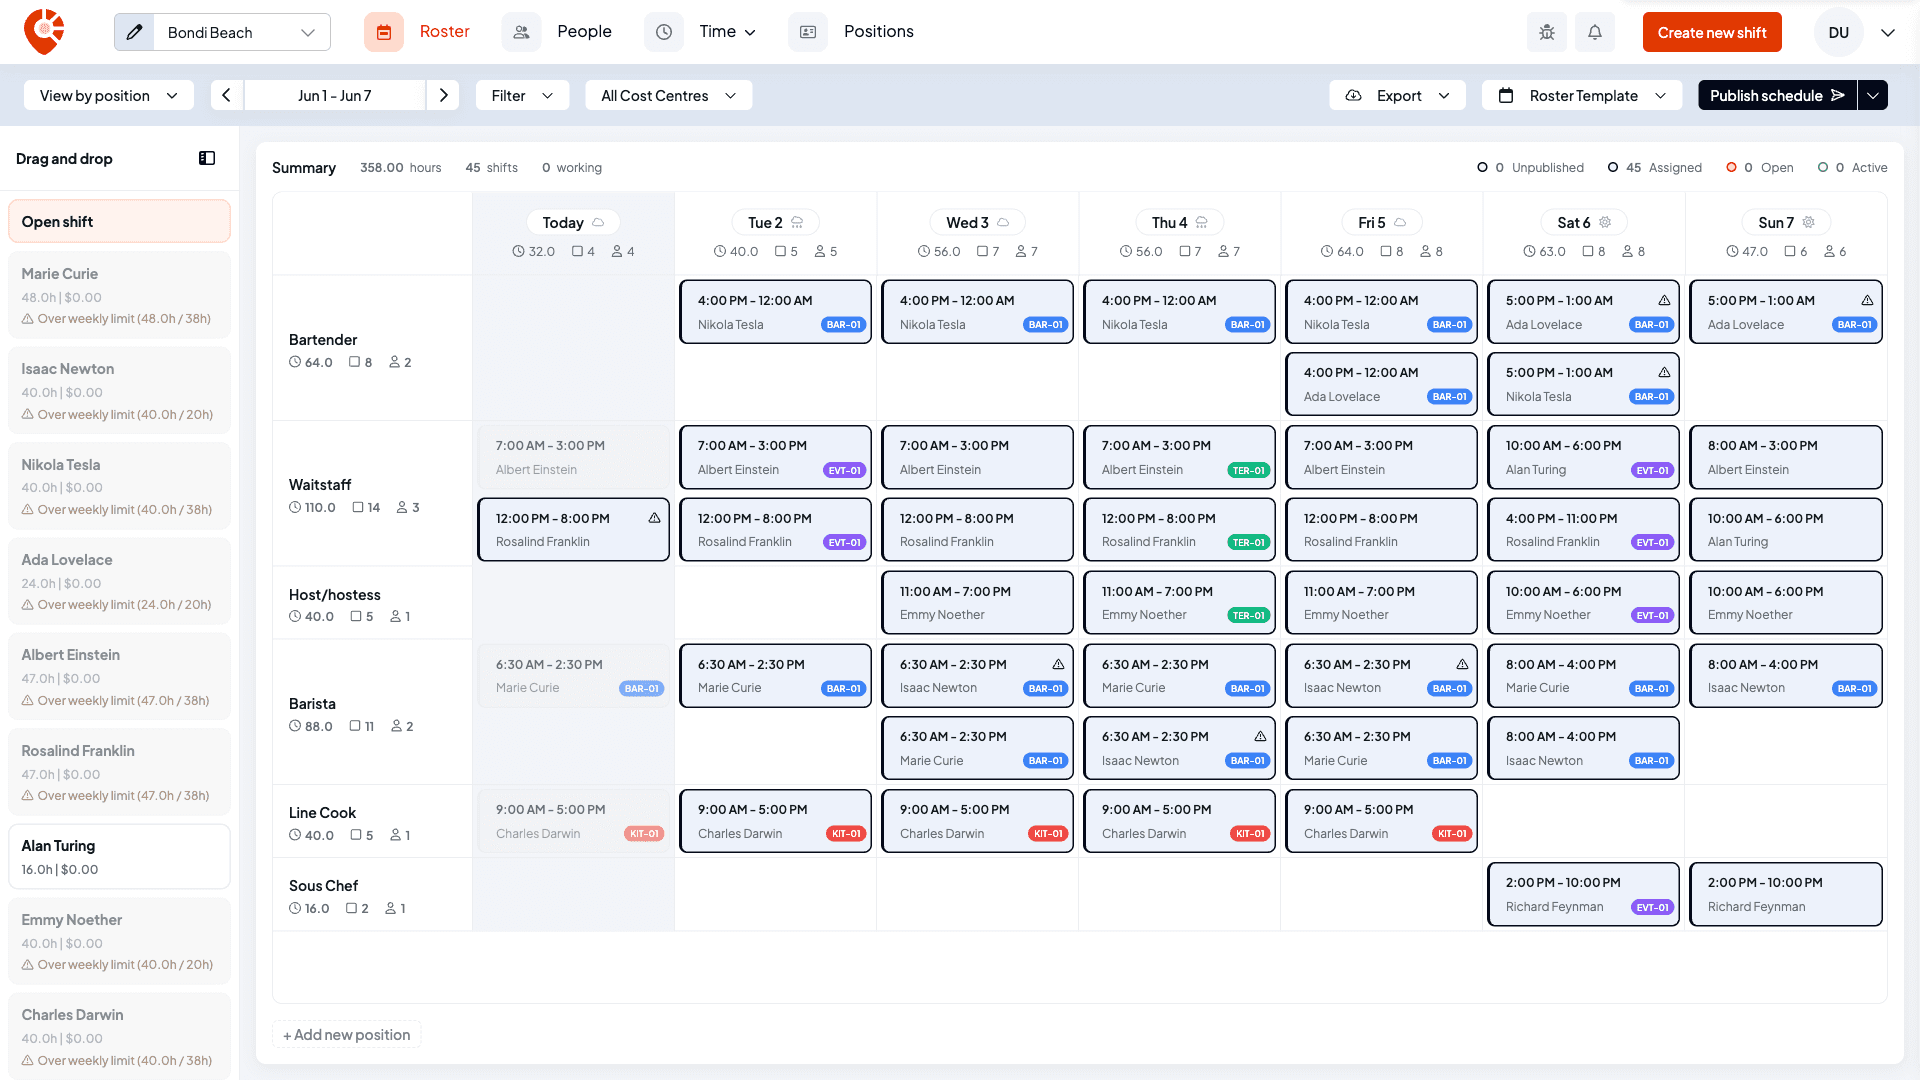
Open the Drag and drop tray with the sidebar toggle at the top left of the grid. It lists everyone who can work this location, with their weekly hours and cost so far. The Open shift card at the top lets you drag an unassigned shift onto the grid.
Drag a person onto a day to assign them. If they're already over their weekly limit, the card shows an Over weekly limit warning so you can decide before committing.
Reorder your rows
In View by position, each row has a Drag to reorder handle on the left. Drag it up or down to set the order positions appear in — handy for putting your busiest roles at the top.
Add a row
At the bottom of the grid, + Add new position (or + Add new employee in staff view) adds another row so you can roster a position or person that isn't shown yet.
The first time you open the roster
A brand-new business sees a short guided tour the first time it opens the roster, walking through the week, shift cards, views, the tray, and publishing. New businesses also start with sample data so the grid isn't empty — when you're ready for your real team, use Remove sample data and confirm Remove demo data?. This permanently clears the sample employees, shifts, and rosters.
Related
Creating & editing shifts
Add a shift, set times and breaks, and assign a team member.
Copying & repeating shifts
Copy, paste, repeat, and stack shifts to fill the week faster.
Publishing a roster
Send the schedule to your team and choose who gets notified.
Open shifts
Post shifts for staff to claim, and find cover for a shift.
Availability & weather
How availability and leave shape what you can roster.
Projects
Roster against a project and see the codes on each card.
Exporting rosters
Download the visible week as CSV, PDF, or a calendar file.
Connecting Xero
Connect payroll — the source of the roster's Connect to Xero banner.
Scheduling & rosters
Build, publish, and manage your weekly roster — create shifts, copy and repeat them, save templates, publish to staff, run open shifts, and export the week.
Creating & editing shifts
Add a shift, set its position, staff, times and breaks, read the cost estimate, and edit or delete it.